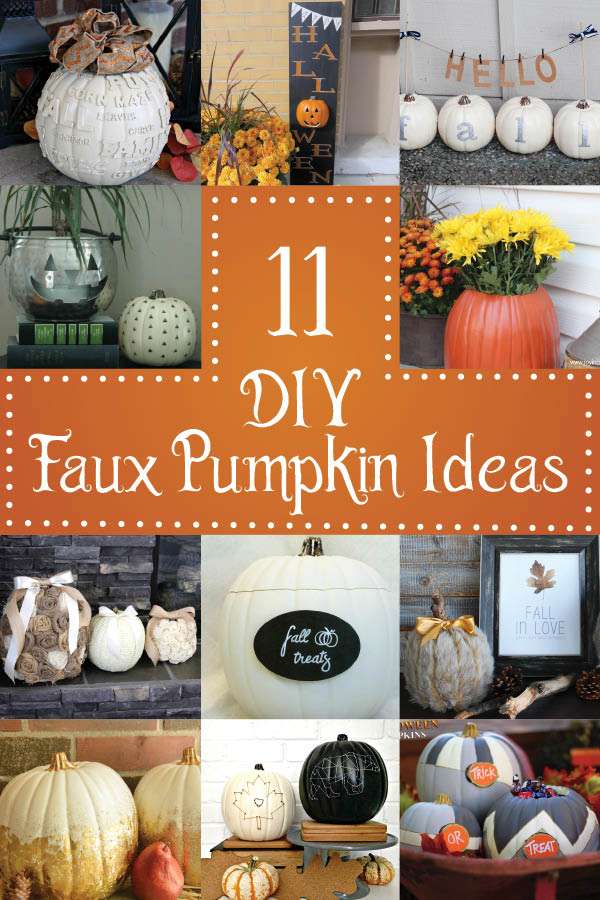
We’ve done it again! My blogging friends and I have joined together to bring you another DIY challenge and this time we’ve added a few new faces! Just like last time with the Great Crate Challenge, we were to take one specific item and each make it our own. This time we were each challenged to put our own spin on some craft pumpkins from Michael’s. This was so much fun and I am blown away by the creations that my buddies came up with. Be sure to check out the links to their projects at the end of the post.
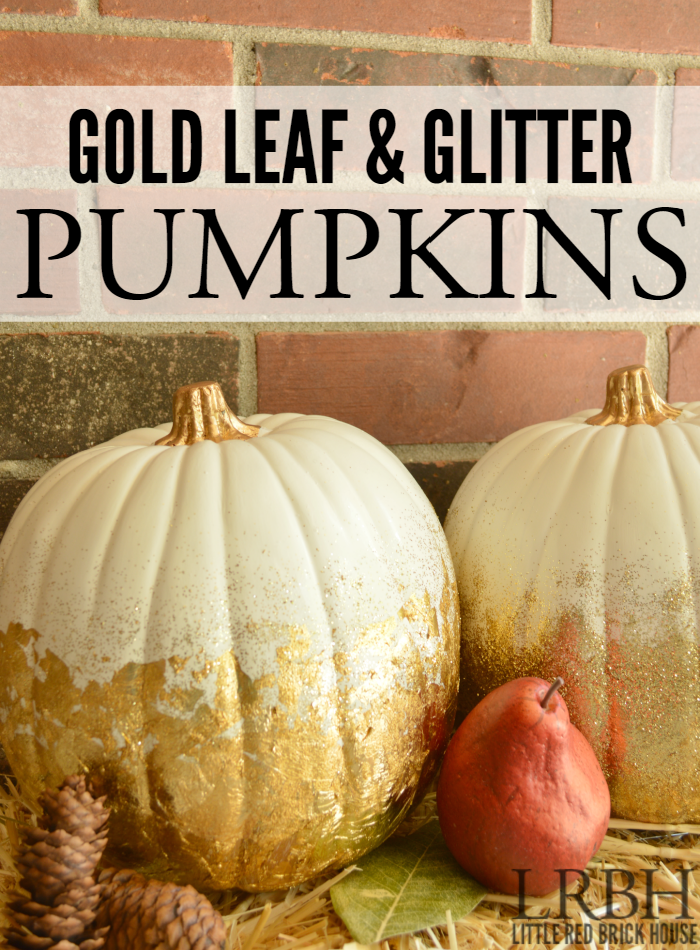
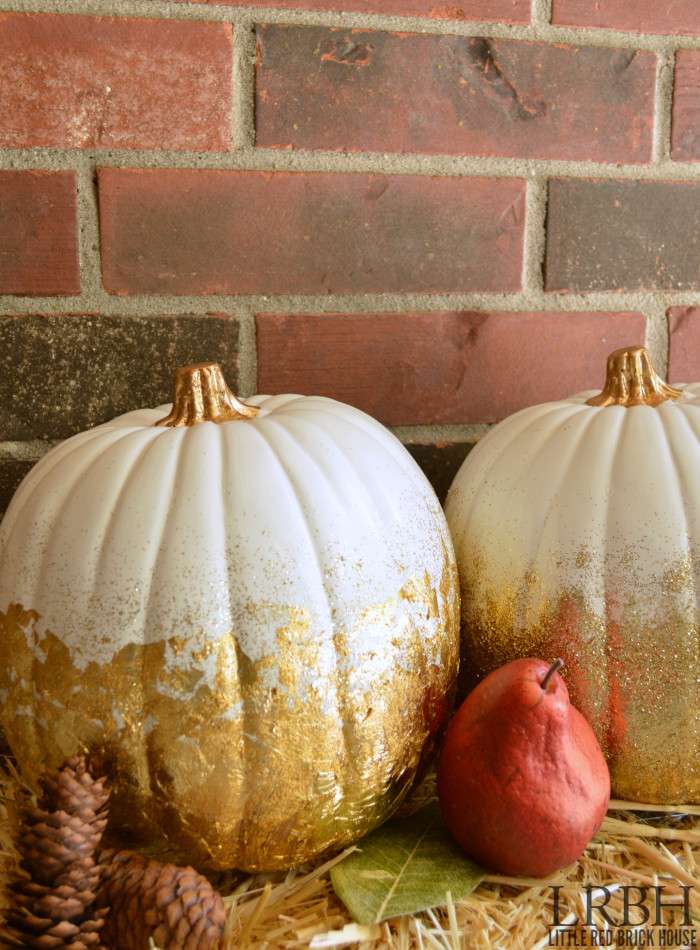
I decided to go a little glam with mine and attempted an ombre gold leaf and glitter design. It didn’t turn out exactly as I envisioned but it’s close and I still think it looks pretty darn cool. Bling! Bling!
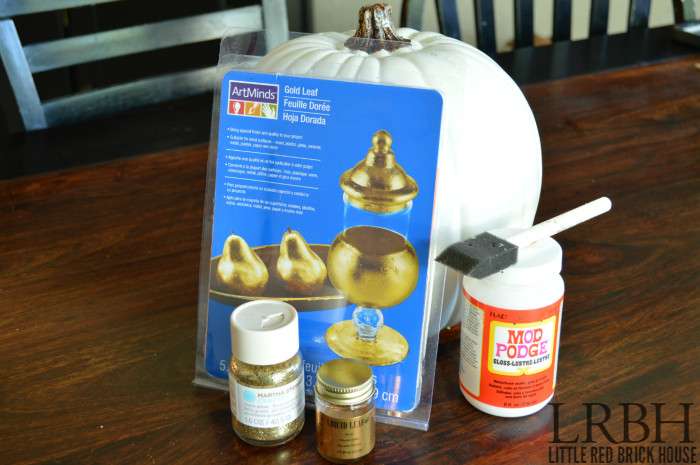
Supplies:
- White craft pumpkins from Michael’s (or any color pumpkins and some white paint)
- Gold leaf paint
- Mod Podge
- Foam craft brush
- Gold leaf sheets
- Gold glitter
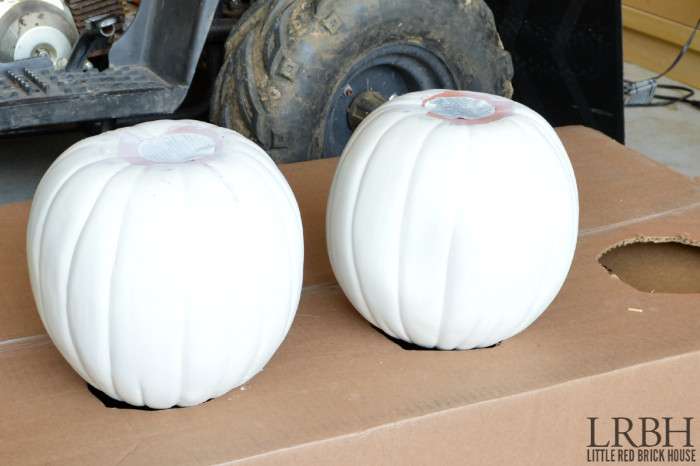
I wanted my gold leaf to fade into gold glitter and then the white of the pumpkin. My local Michael’s was all out of white pumpkins so I just snagged some orange ones and gave them a coat of white paint.
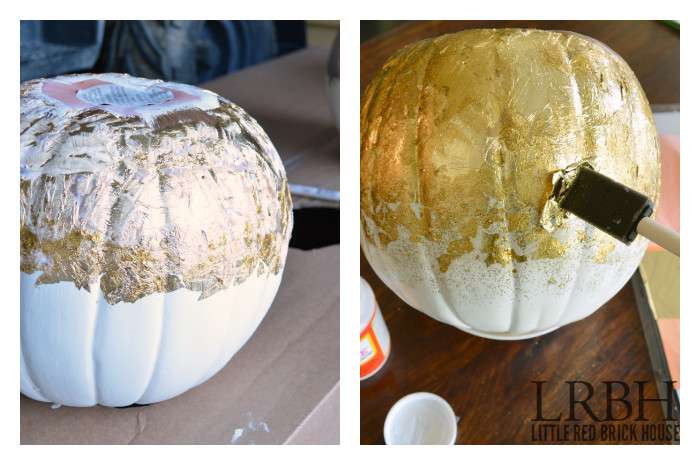
Once that was dry, I painted liquid gold leaf onto the bottom third of the pumpkins and let it dry completely. Let me tell you, that stuff is stinky! I wanted to have a gold background behind the gold leaf sheeting just in case the pumpkin part showed through.

Next I began the painstaking task of applying the gold leaf. I brushed a light layer of Mod Podge over the gold leaf paint with the craft brush and began applying the gold leaf sheets in little sections. This was the hardest part of the whole project. The gold leaf is so delicate and sticky. Especially if your fingers are covered in Mod Podge, which they will be. Trust me. I just tried to gently lay a piece of gold leaf over the Mod Podge and then gently patted it into place with the foam brush. The excess Mod Podge on the brush will help to keep the sheet in place.
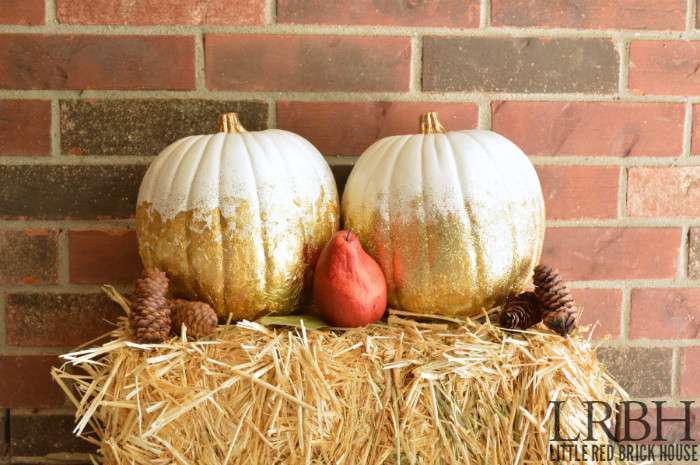
When the gold leaf was dry, I brushed another light layer of Mod Podge over the part where the gold leaf meets the white of the pumpkin. Then I carefully sprinkled on the glitter. I let that dry and then repeated the same process, starting where that layer of glitter met the white of the pumpkin, except this time I sprinkled on an even lighter layer of glitter. This was how I tried to achieve the ombre look.
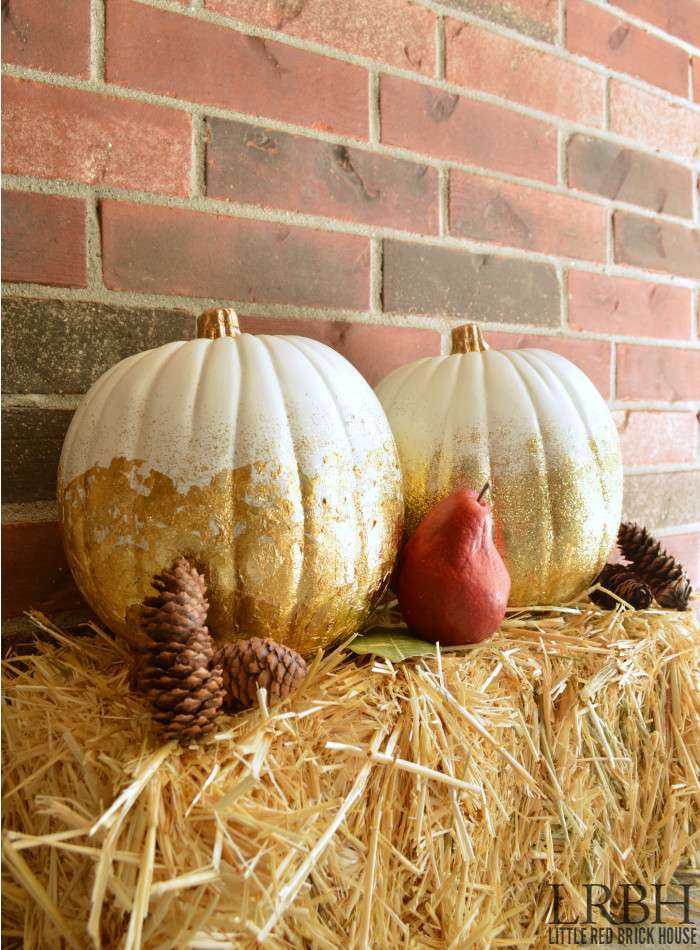
Once that was all dry, I brushed on a light layer of Mod Podge over the entire pumpkin so that the glitter and gold leaf would be set and not flake off. I let that dry completely and then painted the stems with the gold leaf paint. For the pumpkin on the right, I went more glittery and the pumpkin on the left is more gold leaf.
This was definitely a process and if you’re thinking of trying it, I recommend exercising a lot of patience. Also, when using the gold leaf paint, I suggest using it outside in a well ventilated area. That stuff will make you higher than a kite.
Don’t forget to head over to see what each of my buddies did with their pumpkins!
[inlinkz_linkup id=454340 mode=1]
Love the gold leaf addition to the pumpkins. So elegant and unique. So much better than just painting!
Thank you, Elaine! I just love the sparkle and bling it adds!
I absolutely love how your pumpkins turned out! I have been wanting to try gold leaf for a while now, but it sort of intimates me. I like ombre look!
-Shonee
Thank you, Shonee! It is a little intimidating but you just gotta get in there and show that gold leaf who’s boss! 🙂
Oh My Gold!!!! These are incredible!!! I would’ve never thought to gold leaf pumpkins, but wow!! How beautiful!
Thank you so much, Emily! I appreciate you stopping by. 🙂
I adore this idea. There are so many pumpkin tutorials out there, but this one really caught my eye. Thanks for the warning about getting high from the paint 🙂
Thanks, Jamie! LOL. It was so bad. I had to use it in my garage and even then I kept stepping away every few minutes to catch some fresh air.
Love it! Gold leaf is tough to work with but always sooooo worth it!
Thanks, Nicole! It is pretty but such a pain.
Bling bling for SURE, and I love it!! They look so great, even if they aren’t as you envisioned. 🙂
LOL! Thank you so much, Amanda!
Oh my gosh! I have to try to make these! I love festive pumpkins like this! Thanks for sharing! Stopping in from the link up today 🙂
Thank you so much for stopping by! I really appreciate your kind words. 🙂
These art very pretty, Sarah! The glitter adds the perfect beautiful touch!!
Thank you, Kendra! They are very blingy! 🙂
These are TOTALLY awesome!!! I really want them. I don’t know if I have the patience for the gold leaf and mod podge process so could you just whip some up for me and fed ex them over? TIA! 😉 Awesome job, Sarah!
LOL! Of course. I’ll send them right over! Thanks so much, Bre.
I love your bling pumpkins! It was worth all the work because they’re faab-u-luuuuus!!
Thank you so much, Amy! I wasn’t too sure of them at first but they’re growing on me. 🙂
Great job, Sarah! I absolutely love how these turned out! I am with Kristi, I just might head to the craft store again to buy another pumpkin so I can make one of these! So Glam!
Ha! Ha! You guys are making me blush. Thank you so much, Tara!
This is so creative! I am falling in love with gold for fall. Such a great way to bring in the season.
Thank you, Emily! I usually don’t go for gold, but this year my tastes are changing and it is growing on me!
Oh my gosh, I think these are my absolute fave (you know how much I love gold and glitter!)! What a clever clever idea. I’ve never tried gold-leafing anything before, but I’m sorely tempted now, even though It sounds like a messy project! 🙂
Ha! Ha! Thank you so much, Erica! It was a little messy but it wasn’t too bad. Just make sure you’re not in a rush and you’ll be fine.
I love how these turned out! I mean, really, who doesn’t love gold!?!? Great job!
Right, Katie? LOL! Thank you so much.
These pumpkins turned out so cute! Great job!:-)
Thank you, Tamara! I appreciate you stopping by!
I feel your pain with the gold leaf! I recently used it on a project and it’s a pain in the buns! But these turned out beautifully, my friend! Love the white and gold 🙂
LOL, I’m still picking up gold leaf and glitter all over my home. Thank you, friend!
These are SOOOOO cool! I think I may just have to pick up another pumpkin when I head to Michaels today!
Aww, thank you, Kristi! You’re such a sweetie!
Love what you did with your pumpkins. So glam!
Thank you, friend! Ba-bling! LOL!