A kitchen post? What!? I know, I know. Back in November I left you with my unfinished kitchen in what was supposed to be the One Room Challenge reveal. Well, life got busy, the holidays rolled around and then I took a post-holiday break to regain my sanity. But I’m back, I’m feeling so much better, and I am more motivated than ever to get this kitchen finished.
So let’s talk about how this whole kitchen reveal thing is going to go down. I’m going to share each of the kitchen projects that we’ve done, starting today, until the reveal post. To be completely honest, the kitchen isn’t even finished yet. It’s close! But I’m still not ready just yet to share this big baby. I want to make sure every detail is covered and I don’t want to share a semi-finished kitchen with you. You deserve more than that. With all of that said, let’s get to the details of the cabinet extensions.
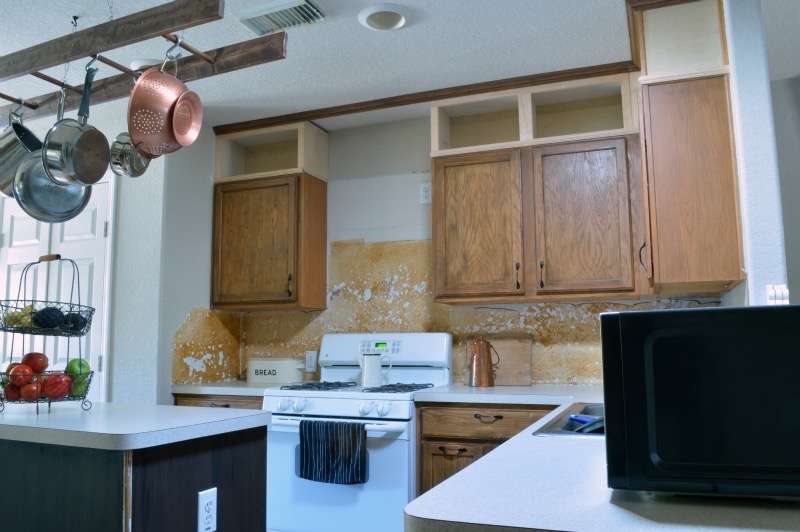
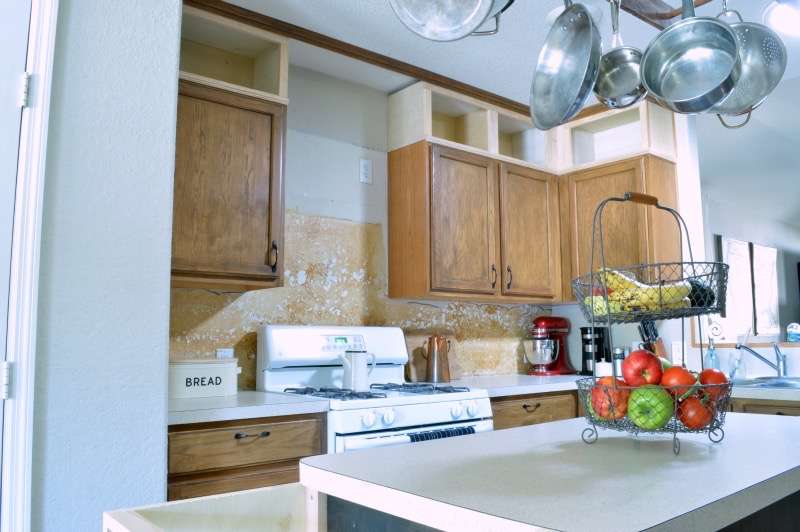
I showed you what the cabinet extension looked like in the Week 2 ORC update but I didn’t get into the nitty gritty of how we built them. Basically we constructed boxes out of 1/2 inch plywood. We used pocket holes to secure each side of the boxes together. Then we trimmed out the front with 1×2 boards. A thin piece of decorative trim was nailed on to cover the seam between the original cabinets and the new extensions and we nailed the existing crown moulding back on.
Here is a closer look at all of the trim and moulding. I apologize for the poor quality of the photos. When you’re working around the clock to finish a kitchen the farthest thing from your mind is capturing magazine worthy photos. Some of these are also photos from after we had taken the doors off and applied the first coat of primer to the frames.
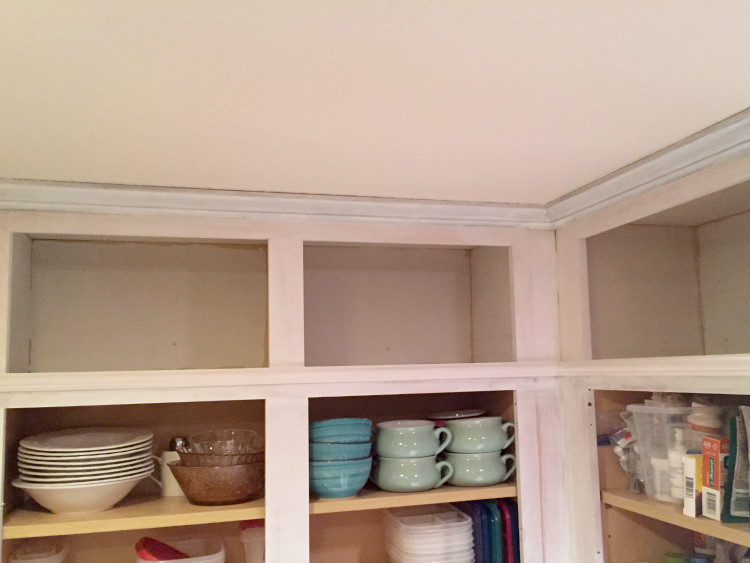
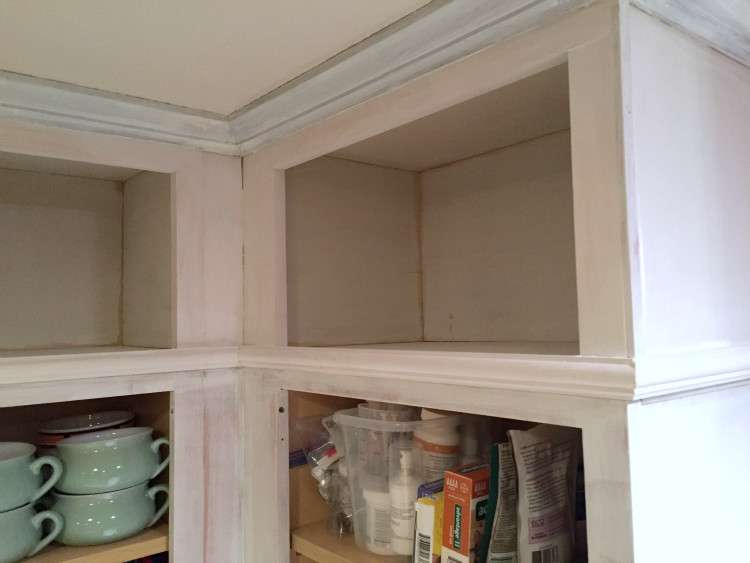
The nail holes were filled with putty and sanded smooth before we primed. The seams still need to be caulked before we put another coat of primer on. I liked to get a coat of primer on first so that it’s easier to see all of the nooks and crannies that need filling.
So that’s about it for the cabinet extension. I am looking forward to decorating the little cubbies with pretty plates or even my growing collection of cake stand or pitchers. We shall see.
Come back for a look at how we extended our kitchen island to accommodate our microwave.

Great blog! Clever and practical tips for extending kitchen cabinets to the ceiling add both style and storage!
I think one advantage of extending it to the ceiling is having less dust around the house. It’s a great idea if you have someone with allergies.
Wow! What a fantastic makeover. That was really a great idea. Making use of the space.