
As promised, here’s a how-to of how we constructed the pillars. I was going to write up a tutorial for the columns, wood planking wall and the stonework installation, but while writing I realized that there was just too much info for one post. So we’ll break it down into easier to digest pieces.
If you’re just joining us, you may want to catch up on our plan for the fireplace makeover and our final reveal. Please excuse some of these pictures. This project was started back in November of 2013 when I’d just bought my new camera and was shooting on auto. I’d like to think that my photography skills have improved a bit since then. This project was a beast at certain times and grabbing my camera to take a pretty picture was the furthest thing from my mind at the moment.
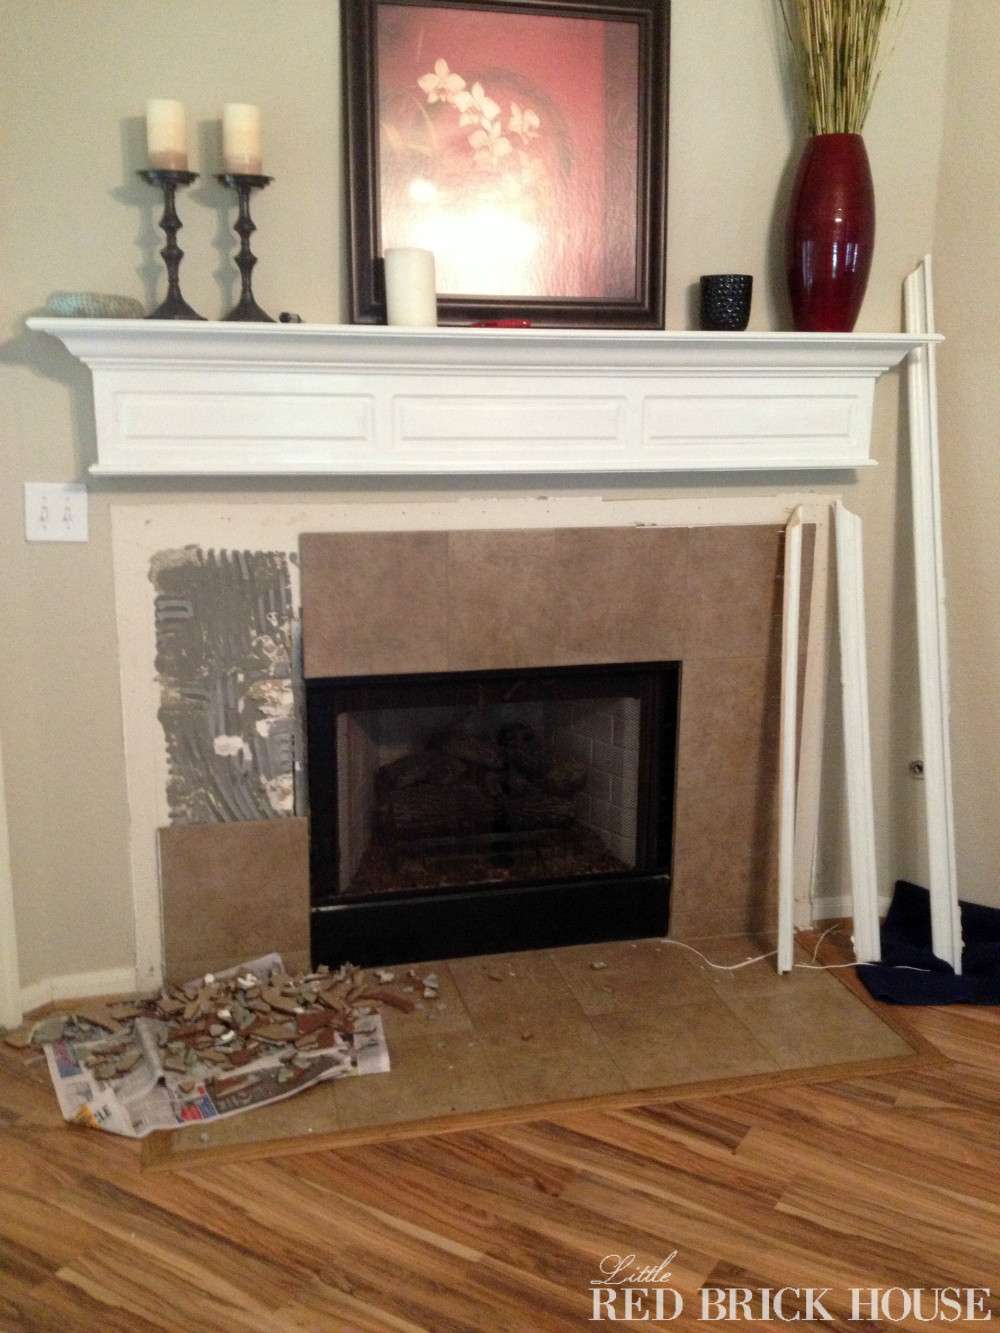
With our vision in place, we started on the demo of the old fireplace. I pried up the trim with a flat head screwdriver and then began knocking the tiles off the wall using a large hammer. Look at that cute little piece of newspaper down there doing a horrible job of containing the mess.
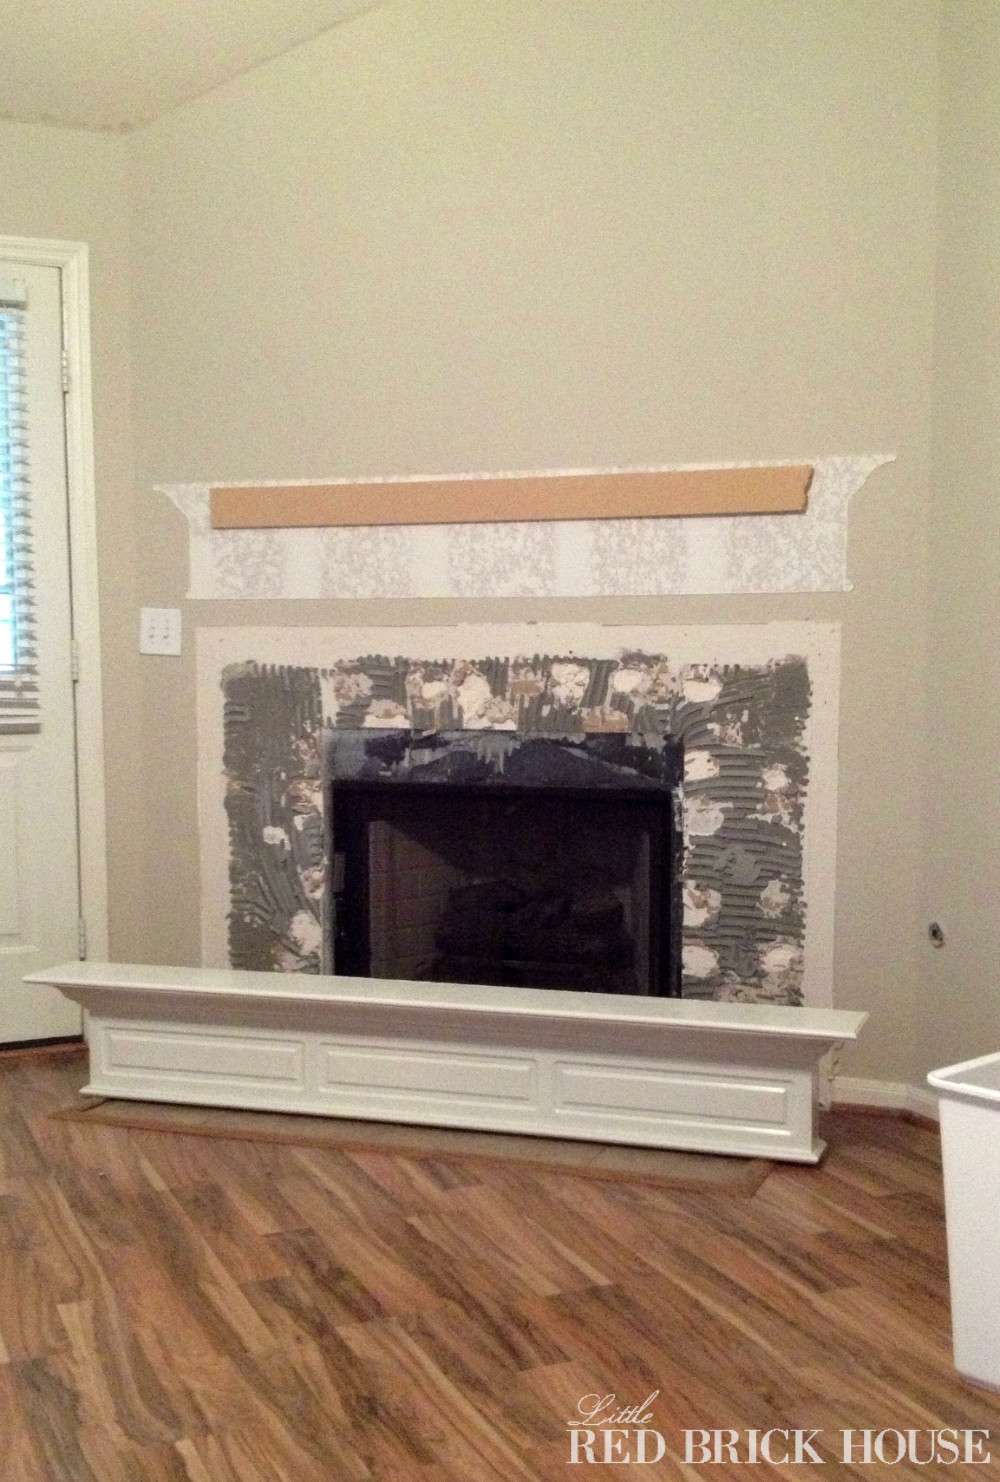
I wanted to lower the mantle by a few inches so we removed that from the wall next. To get it off, you just use a utility knife to cut around the seams where it’s caulked to the wall. Then you get your hubby to use his big man-muscles to lift it up and off the cleat. The mantle is nailed into the cleat, so you will have to work at it a bit to get it off. Some mantles may be affixed to the wall differently, so your mileage may vary as far as removal is concerned. Here’s a good picture of the cleat after we removed the mantle. Make sure to screw your cleat into the studs so that there’s something holding it onto the wall other than just the drywall. You definitely don’t want your mantle crashing down and taking the drywall with it.
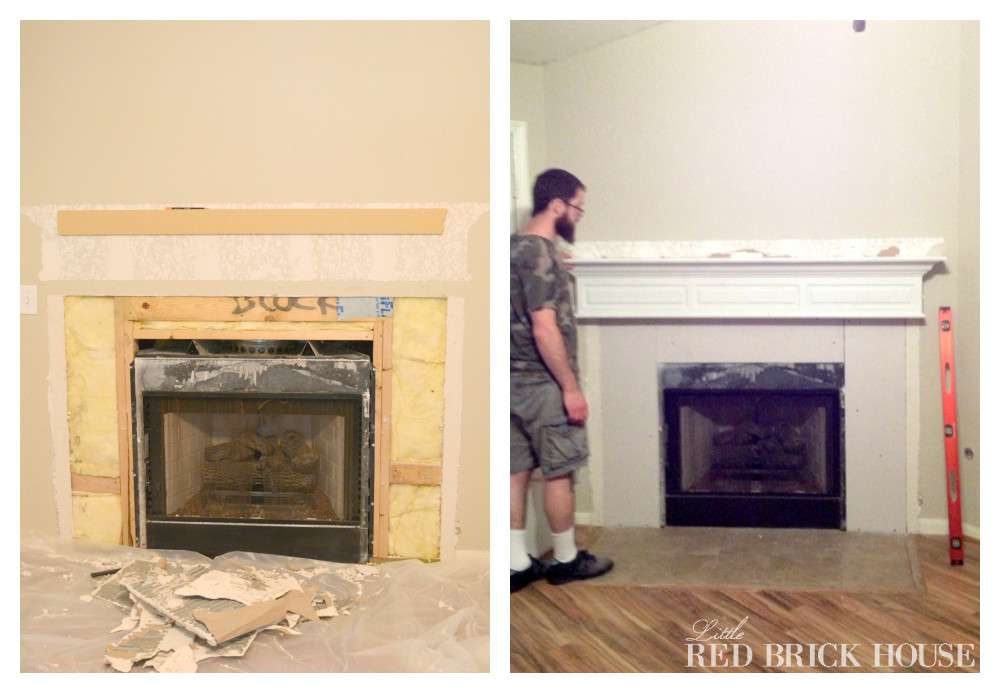
The wall was in pretty bad shape once the tile was removed (whoops!) so we decided to just cut out the surrounding drywall and replace it. Actually, it tunrned out to be a good thing because we found out that it’s a smart idea to install cement board behind heavy tiles instead of regular drywall. The cement board can hold the weight of the tile better. Again, we made sure to screw the cement board into the studs so that everything would stay nice and secure.
Once that was all out of the way, we started on the pillar construction. We measured the space between the floor and the bottom of the mantle and used 3/4″ thick MDF cut to size with our circular saw. We screwed some mini cleats into the bottom of the mantle and then nailed the MDF boards to the cleats.

To build up the bottom of the pillars, we used more MDF to act as base board. Then, nailed some cove moulding in place to give it a decorative touch and to help transition the pillar into the base moulding.
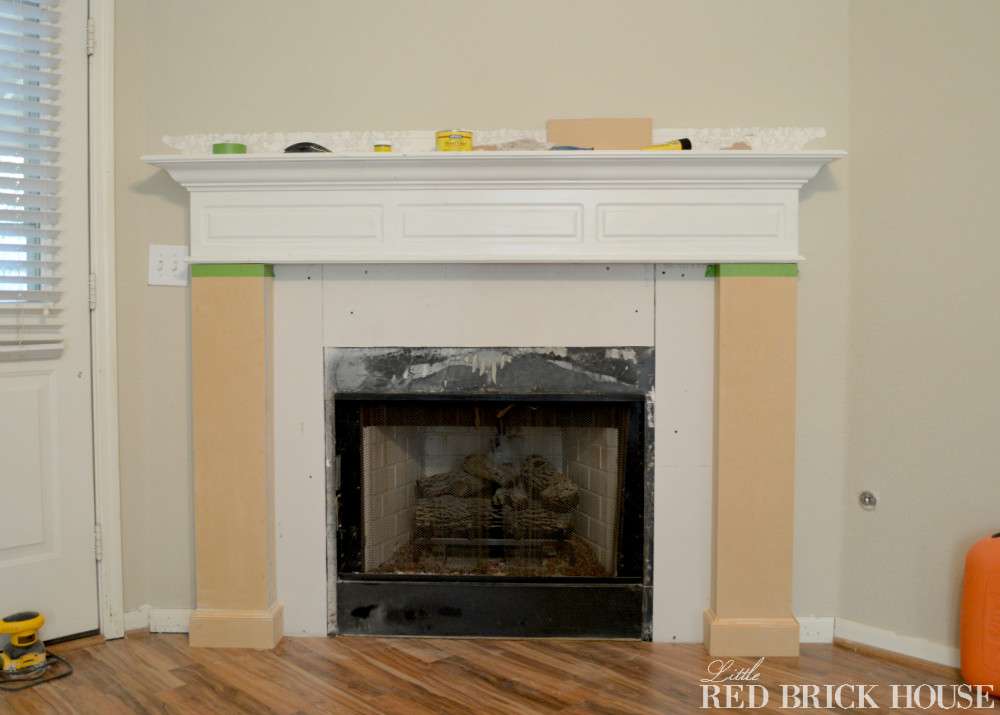
With the pillar construction complete, it was time to fill the nail holes and seams with wood filler and sand it smooth.
DIY TIP: Don’t underestimate the distance that you think fine sanding particles can travel. Seal off your mini construction zone with plastic sheeting!
The dust from the MDF went everywhere. I was vacuuming up dust for weeks after! Also, be sure to wear a respirator and goggles because MDF has some nasty chemicals mixed in with the wood particles and you definitely don’t want that crud clogging up your lungs.
Stay tuned for the next installment where I show you how I added the wood planking wall.


I love love love this makeover. I am not much of a DIYer, but I would like to try to copy this project. How difficult was it to pull the tiles from the floor? It looks so much better without the floor tiles as the base — was your flooring under the tiles? We are having our laminate replaced and I worry about its durability. Thanks!
Hi Kara! Thanks so much for your kind words. In all honesty, the tiles were quite a booger to pull up. Well, not so much the tiles as the mortar. The tiles were easily crushed and scraped off but the mortar stuck to the concrete subfloor. It took a good bit of muscle and time to scrape everything off the concrete, but I think if we would have rented a tile scraper from the hardware store it would have gone a lot quicker. Hope that helps! If you have any more questions don’t hesitate to give me a shout!
This project is fantastic! We’re actually in the middle of almost this exact same makeover. We’ve demolished everything except the floor tiles on the floor, where we’ve gotten a bit stuck. Do you have any suggestions on laying wood floor boards?
Yes I was wondering how you matched the wood flooring after demoing the tile on the floor?
Hi Renee! We actually had some leftover flooring stored in the attic. We had to pull up most of the flooring from the fireplace over to the wall on the right just to get each piece in. Thanks for stopping by and leaving your question!
You make this look too easy! I’ve got 3 fireplaces in my house and 2 of them definitely need a makeover – might have to try something like this!
Three fireplaces?!?! Well now I’m just jealous.