Hello, hello, hello! I am so glad to be back with a new project!
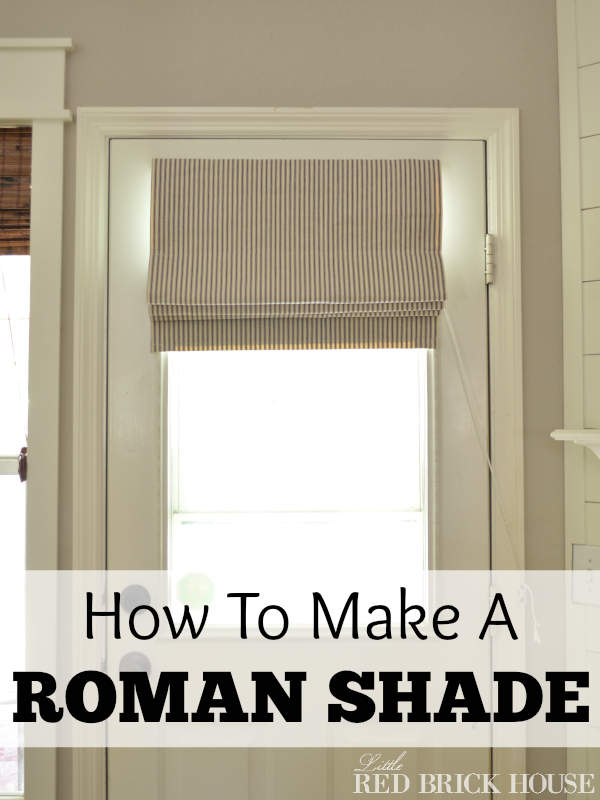
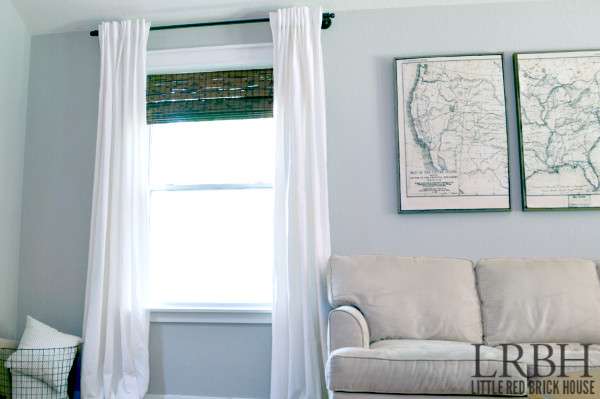
When we first moved into our home, all of the windows were decked out with white faux wood blinds. They were’t ugly but I wanted to bring some texture into the living room in the form of bamboo blinds. I am so glad I did because they are gorgeous and they really do bring a lot of interest and texture to the room. On the back wall of the living room there is a large window and also the back door, which has a window. I felt like a bamboo shade on the door would be too much brown for that space so I pondered for a while and eventually settled on the idea of a fabric roman shade. I loved the idea because it was yet another way to bring in texture and also some lovely pattern.
Now, custom roman shades can be pricey, so I opted to make my own. I know there are a ton of no-sew and faux roman shade tutorials out there but I actually wanted mine to function and I didn’t want to go the faux route either. I was very pleased to find this amazing tutorial from Alissa at 33 Shades of Green and followed it closely with a few minor adjustments.
Supplies:
- Fabric for your shade (measured at length of window + 8 inches and width of window + 4 inches)
- Drapery lining (measured at length of window + 8 inches and width of window + 4 inches)
- Matching thread
- 1/2 inch plastic rings (found at JoAnn Fabrics)
- 15/16 inch metal screw eyes (found at Lowe’s)
- Small corner brackets (found at Lowe’s)
- Cord cleat (found at Joann Fabrics)
- Polyester cord (5 times the length of your shade) (found at JoAnn Fabrics)
- 5/16 inch diameter wooden dowels (I grabbed 4 at 4 feet long) ( it will depend on the length of your shade)
- 1×2 wooden board
- Iron
- Staple gun
Make sure you have a handy helper for this project.

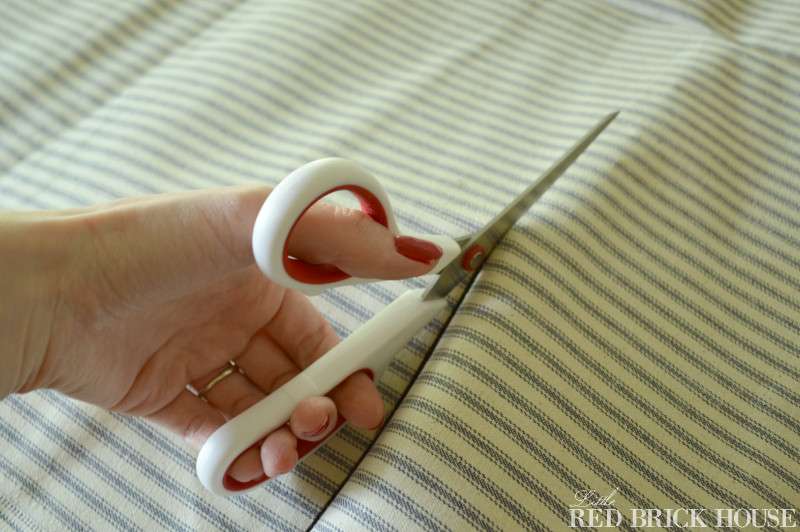
Step 1-
Cut your fabric and lining to specified size. My window measures 38″ long by 24″ wide, so after adding 8 inches to the length and 4 inches to width my dimensions for the fabric and lining were 46 inches long by 28 inches wide.
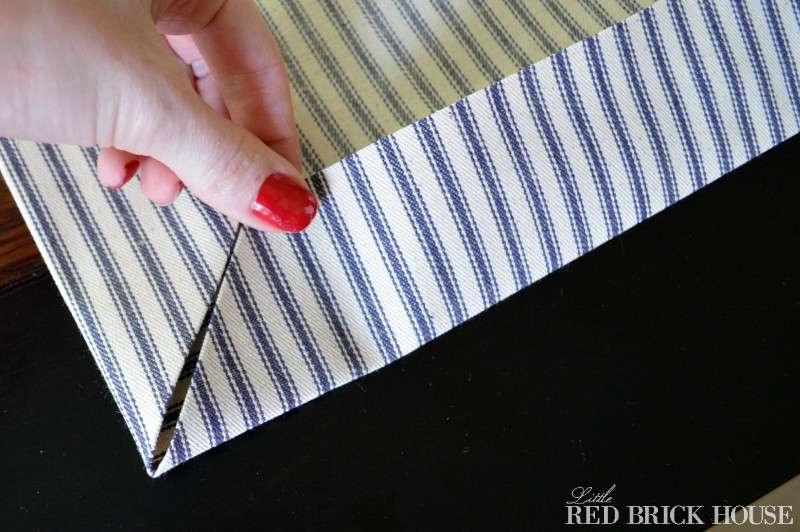
Step 2-
Press a 2″ hem on both sides and the bottom of your fabric.

Step 3-
Unfold your hems, fold the corners in, refold your original hems and iron. You just mitered your corners!
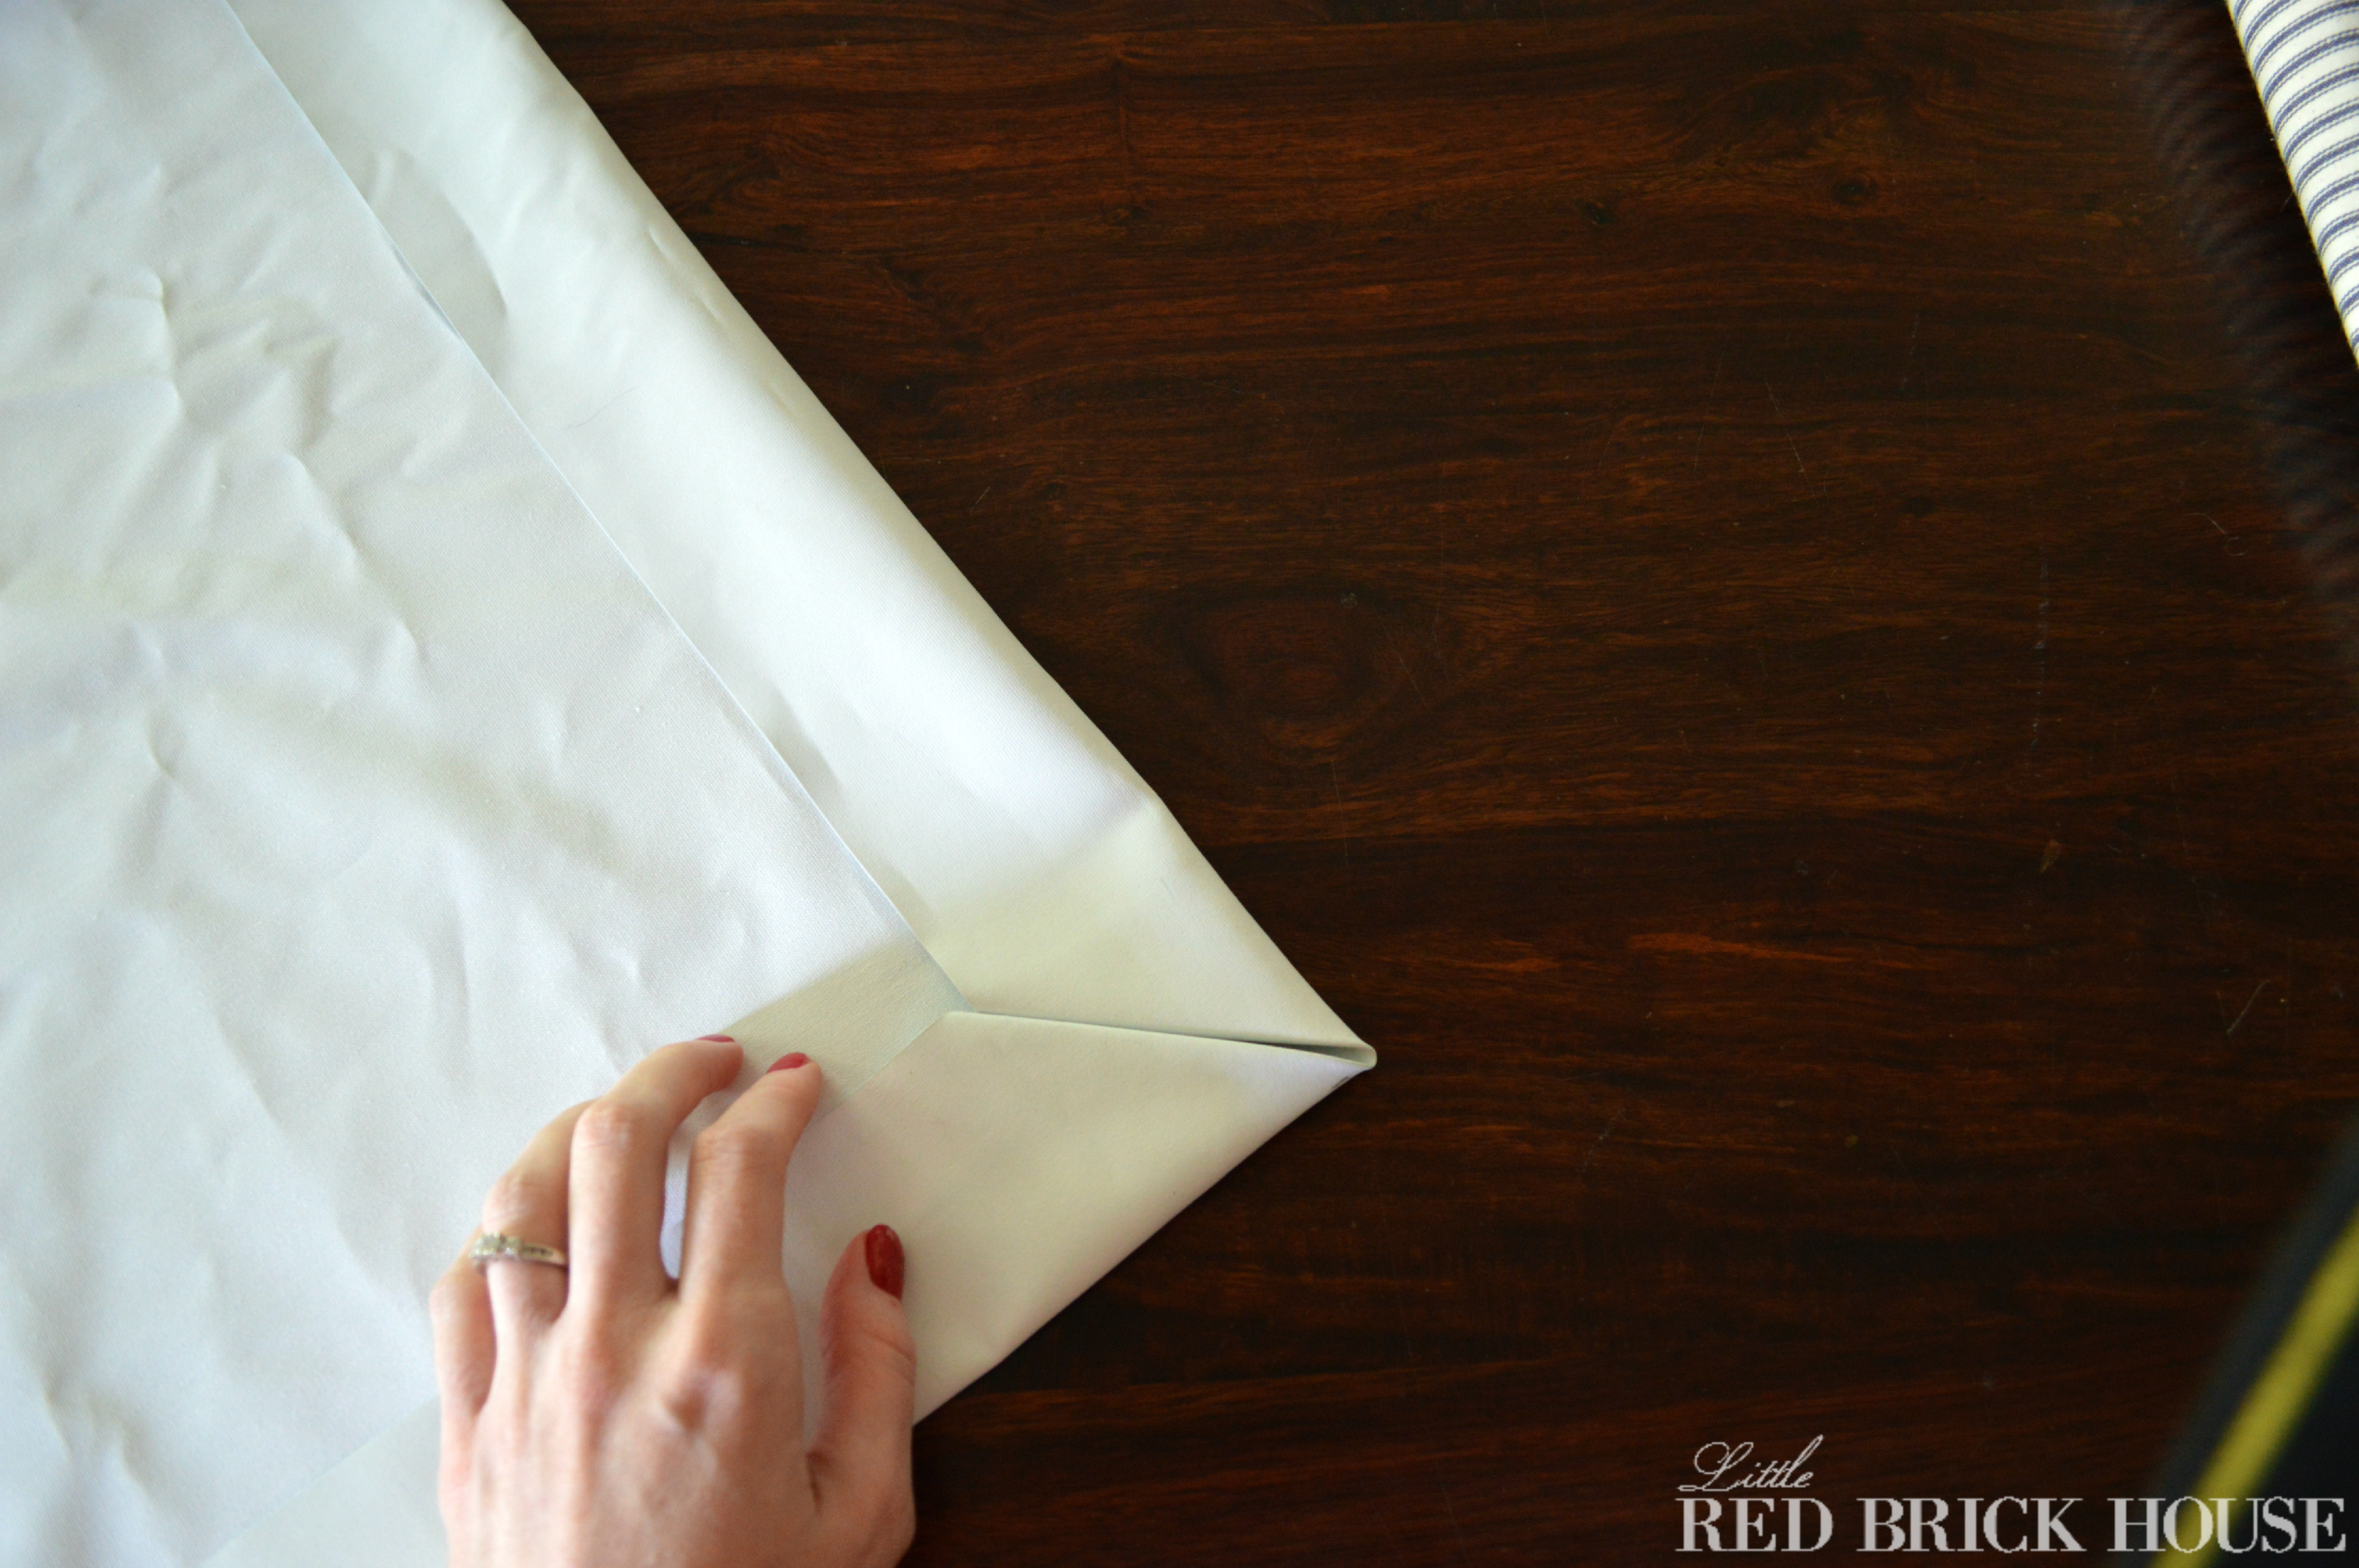
Step 5-
Repeat the two previous steps for your drapery lining, making a 2 1/2″ hem instead.
Step 6-
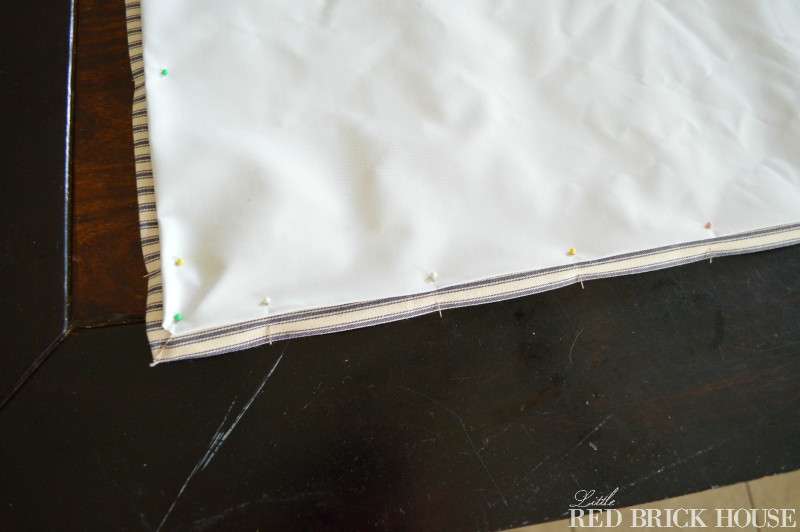
Lay out your fabric facing right side down and place your drapery lining on top, facing right side up. Pin together and sew along all three hemmed edges. Don’t worry about the top.
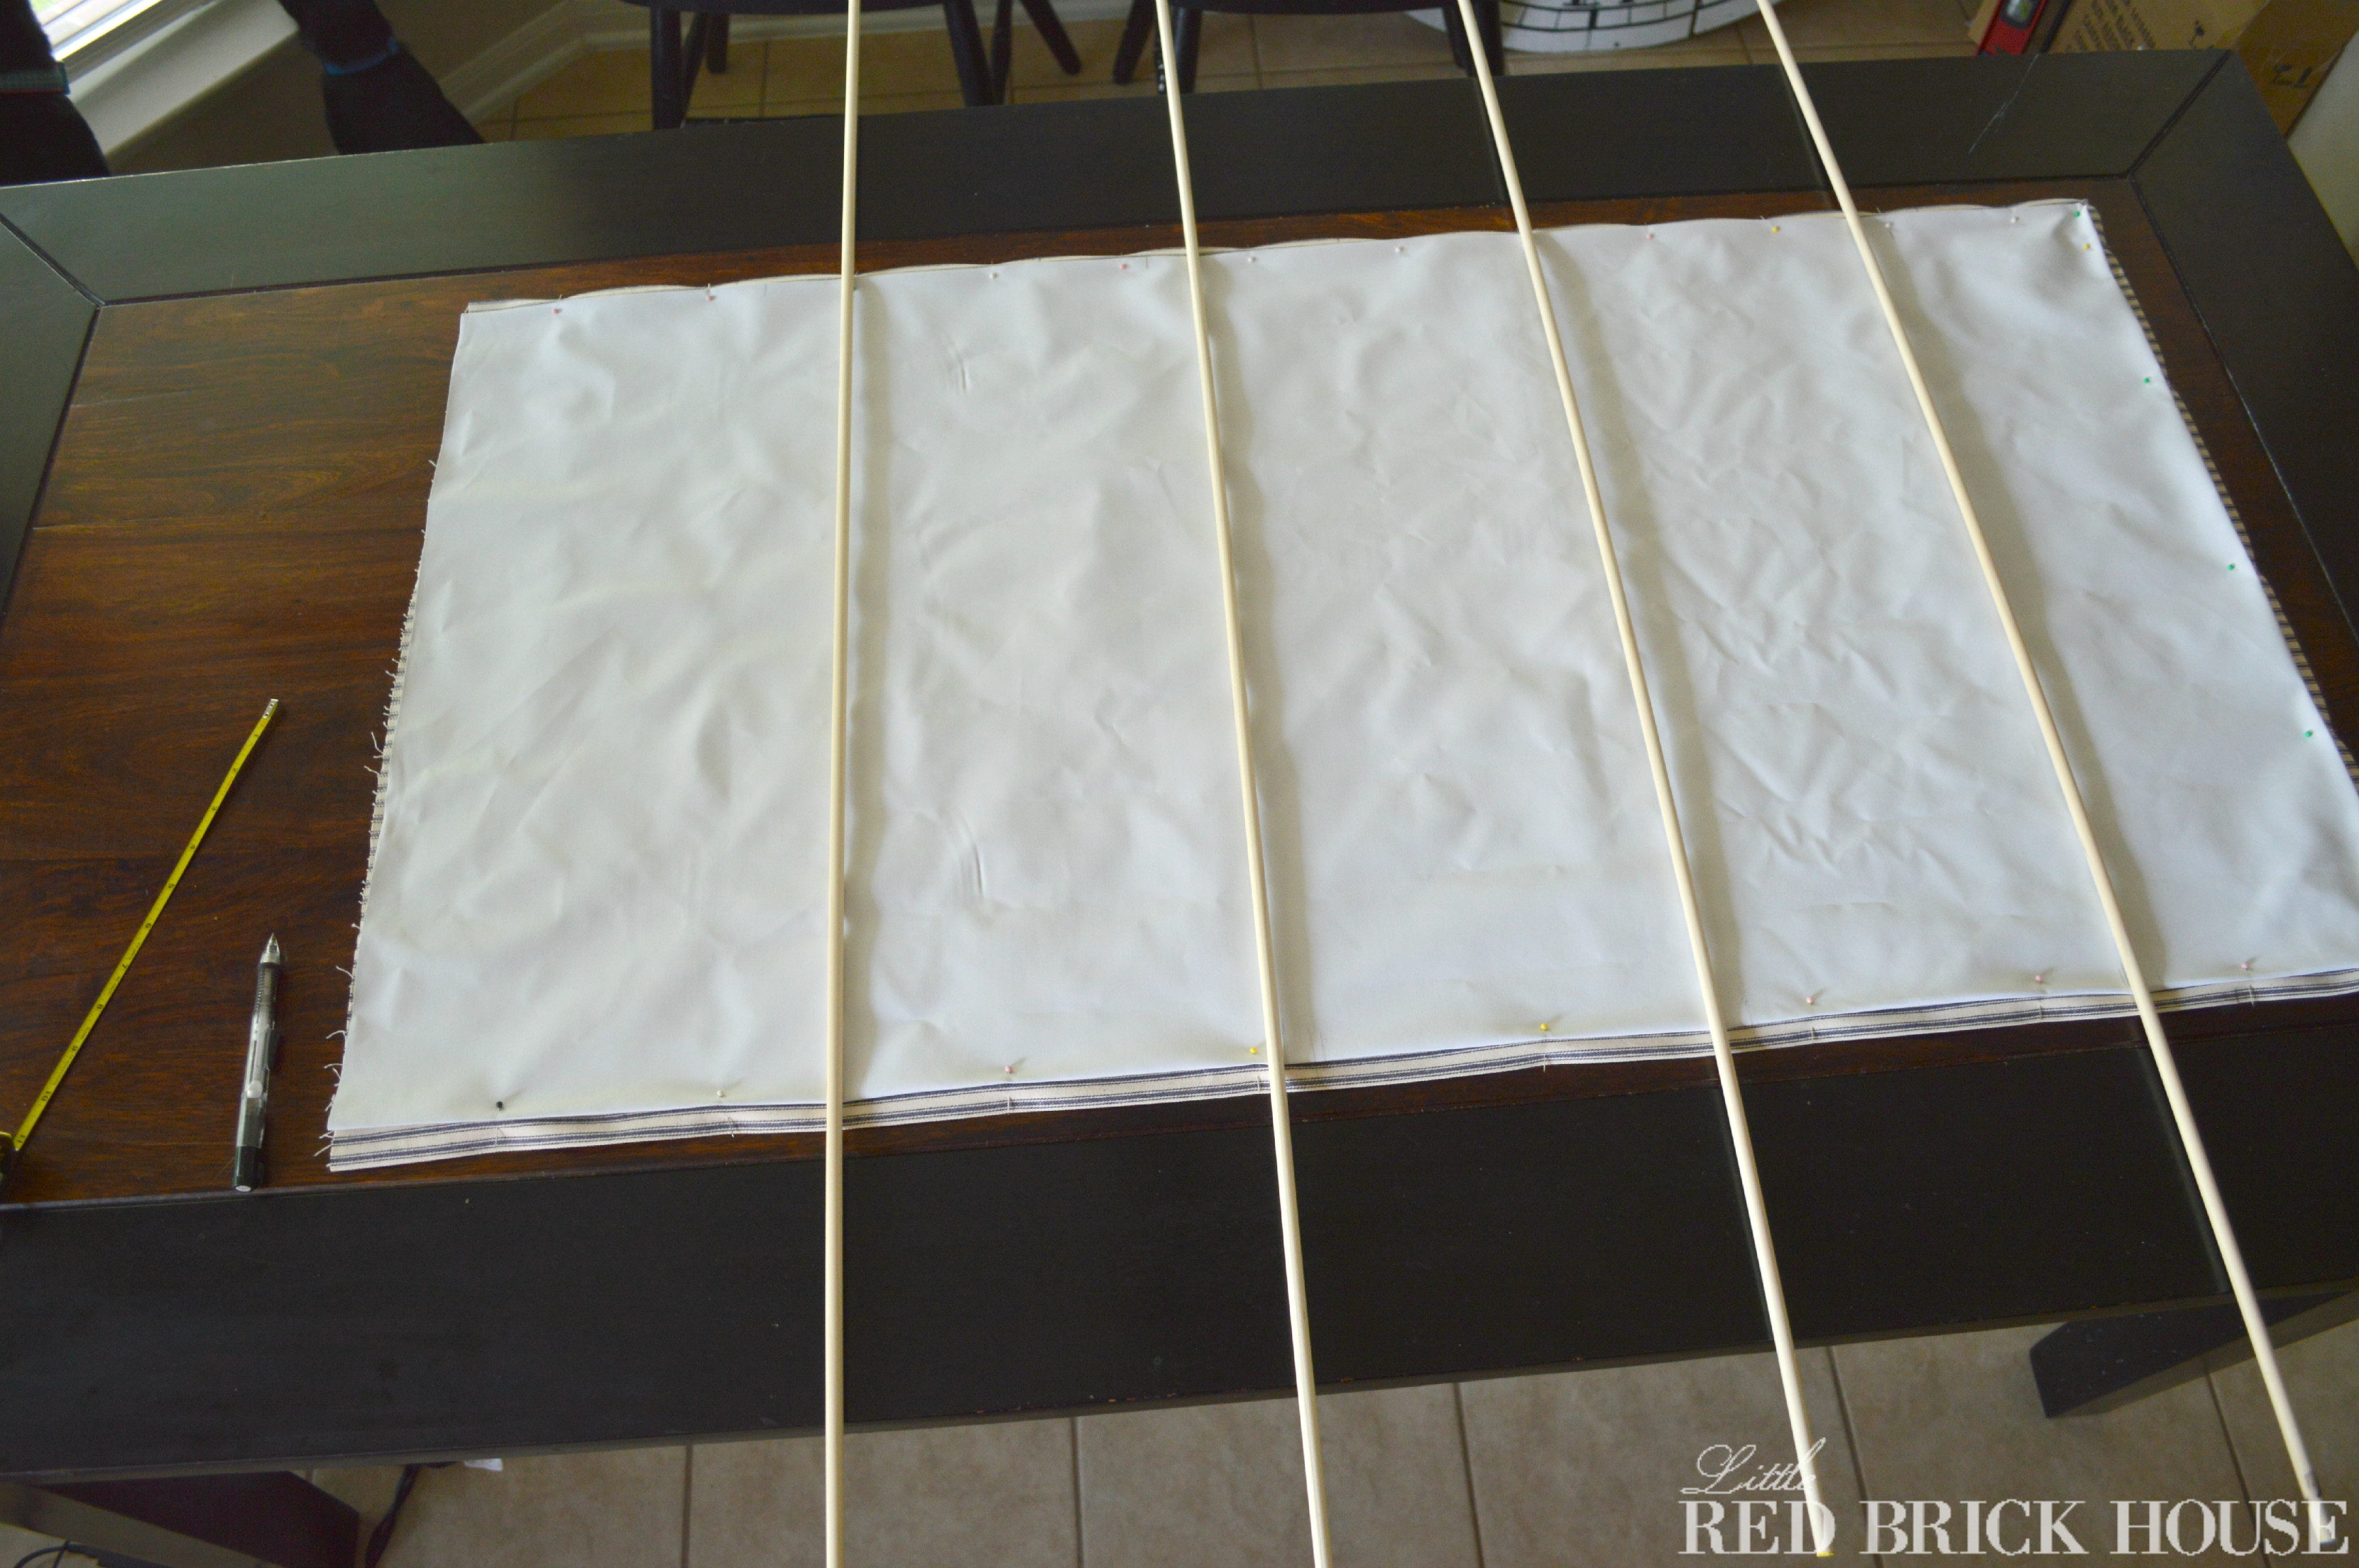
Step 7-
Time to measure for our dowels. They should be 8-12″ apart from each other and the top dowel should be at least 10″ from the top. To determine how far from the bottom your lowest dowel should be, just divide your chosen dowel interval length by 2 and add 1 to it. Mark your places with a pencil or fabric chalk. So, since my shade was 46 inches long, I decided to space my dowels 9″ apart. I measured the first one 7″ from the bottom and then added 3 more dowels (9 inches apart) until I was left with 12 inches at the top. This was the hardest step for me. You know, math and all.
Step 8-
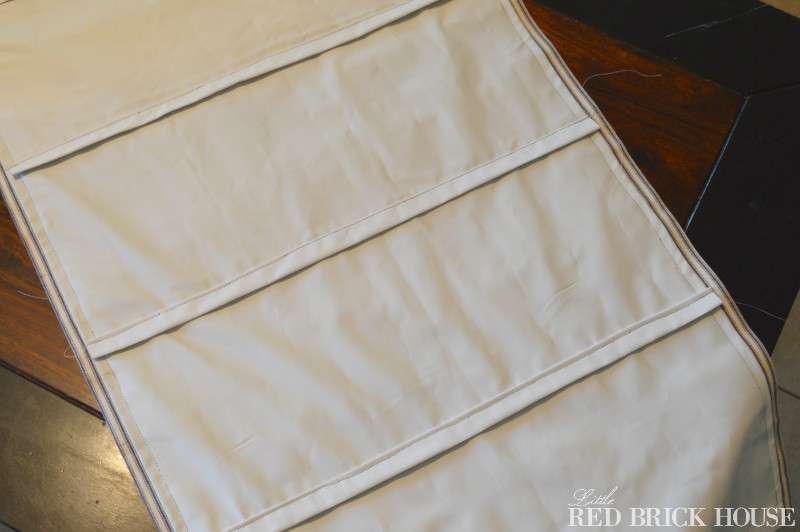
Using a strip of scrap fabric (I used some extra drapery lining) cut strips measuring 3″ wide by the length of your shade. Fold your strip in half width-wise.
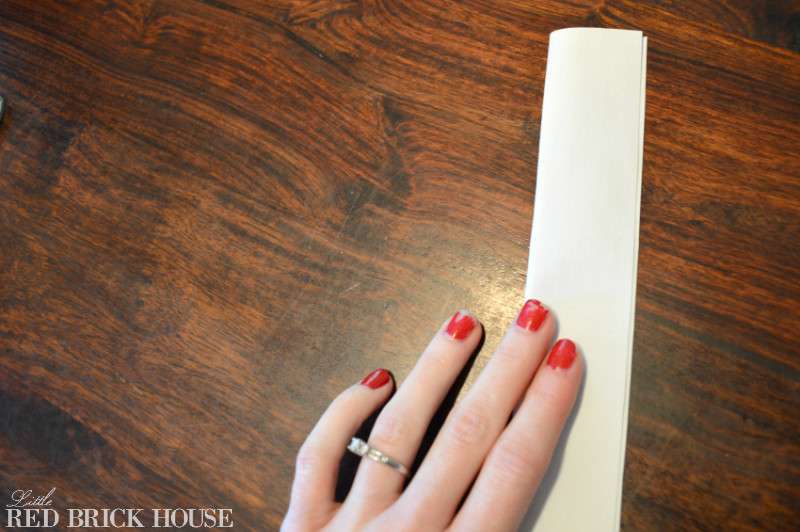
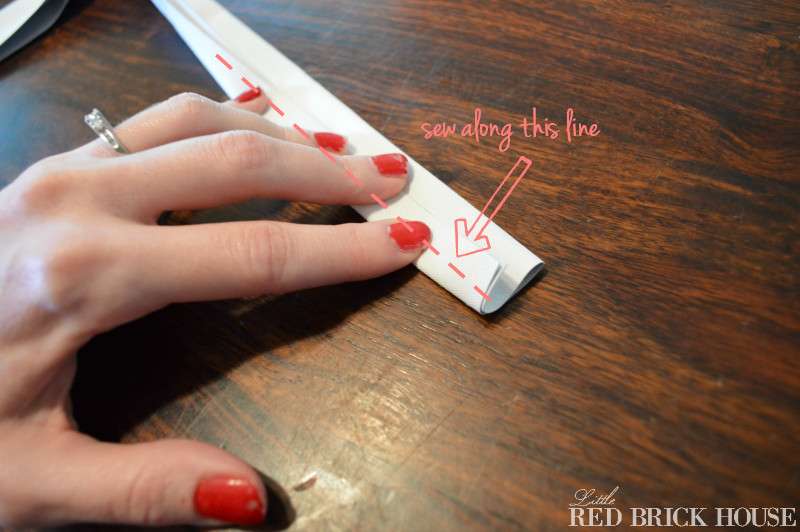
Fold the cut side (the unfolded side) in halfway. Lay dowel pockets along your previously determined markings with the last fold that you made facing in and toward the bottom of your shade (my shade is upside down in the second picture). Pin in place and sew along the bottom of the dowel pockets.
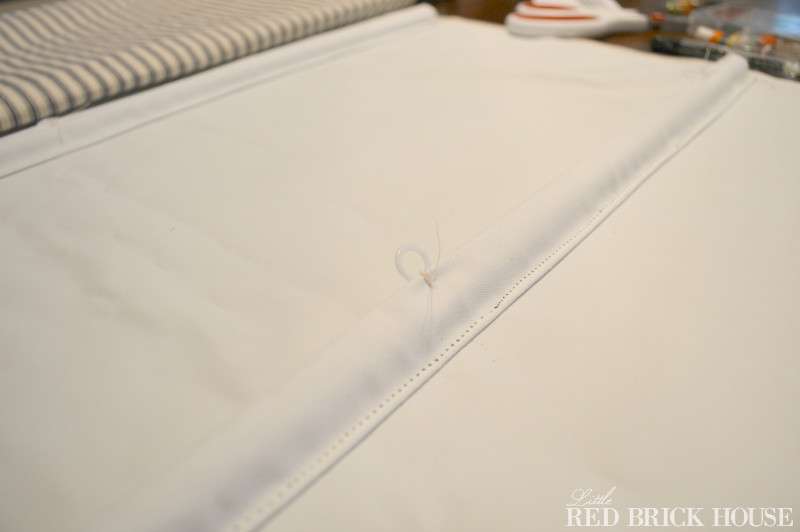
Step 9-
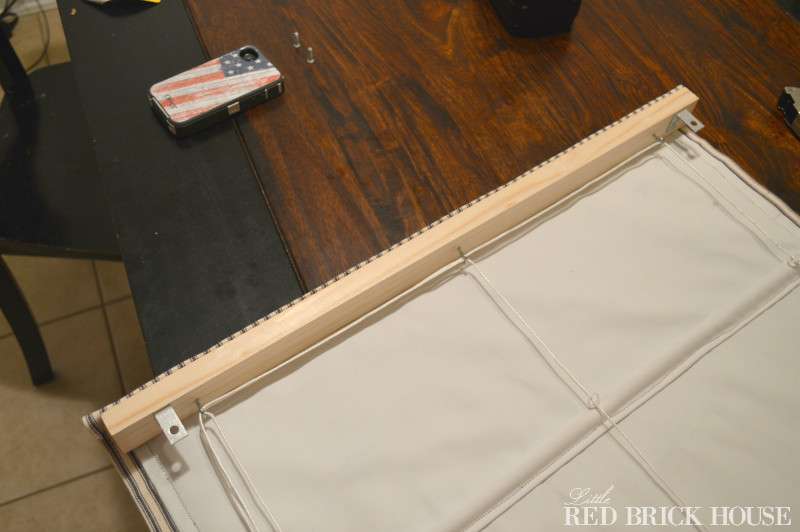
By hand, sew your plastic rings to your dowel pockets. Place one in the center and one about 2″ from each end, keeping them lined up in vertical columns down the length of your shade.
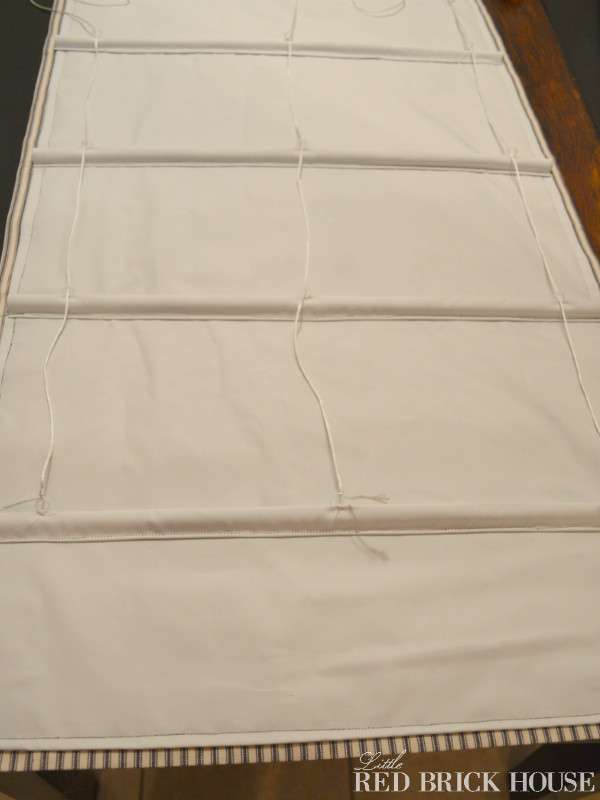
Step 10-
Cut three strings at three times the length of your shade. Then tie each string to one of the rings on the bottom dowel pocket. Thread the strings, vertically, through each dowel pocket ring.
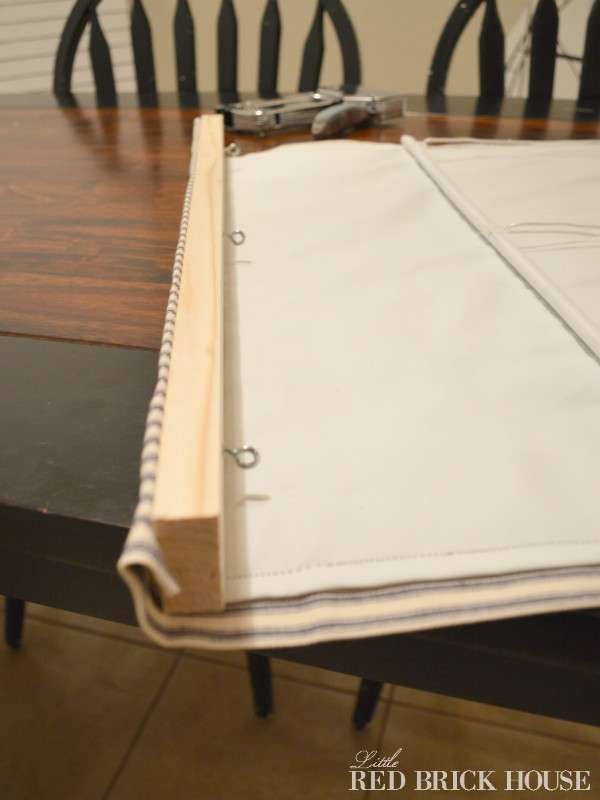
Step 11-
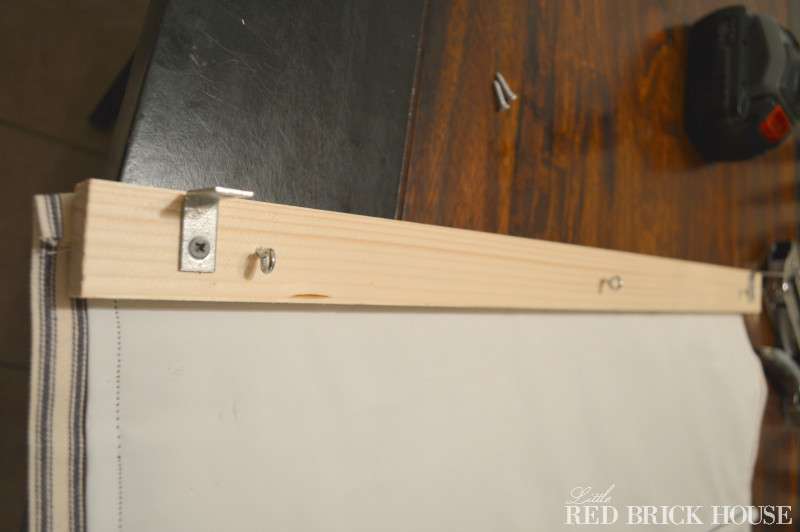
Cut the 1×2 board to a 1/2″ shorter than the width of your shade. Place it, horizontally, at the top of your shade. Screw a screw eye to the 1×2 in the same spots that you placed your plastic rings on the dowel pockets (one in the center and one two inches from the end on both ends). Next, fold over your unfinished shade edge about a 1/2″ and staple to the 1×2 on the opposite side of where you screwed in your screw eyes.
Step 12-
With your shade laying out flat and your screw eyes pointing up, attach your corner brackets to the 1×2. Place one side of the bracket on the same side as the screw eyes and the other side facing out (the very top of your shade).
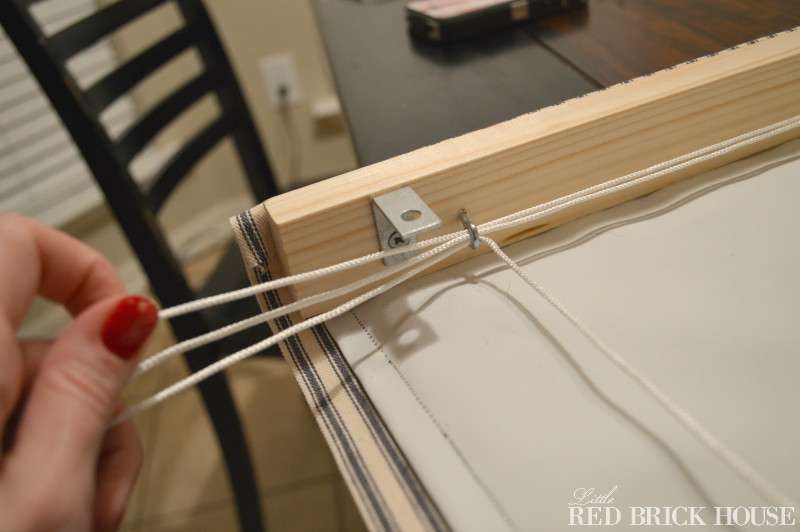
Step 13-
Next, you’re going to thread your three rows of sting through the screw eyes. Determine which side you want your cord to hang. The first cord should be threaded through all of the screw eyes. The second cord goes through the middle and last screw eye. And the third cord goes through the last screw eye. All three strings should pass through one screw eye when you’re done.
Step 14-
Attach your shade to the wall, or door in my case, using the screws provided with the corner brackets.
Step 15-
Mount the cord cleat to the wall or window frame. I ended up braiding my strings together to minimize all of that annoying cordage.

And you are DONE!
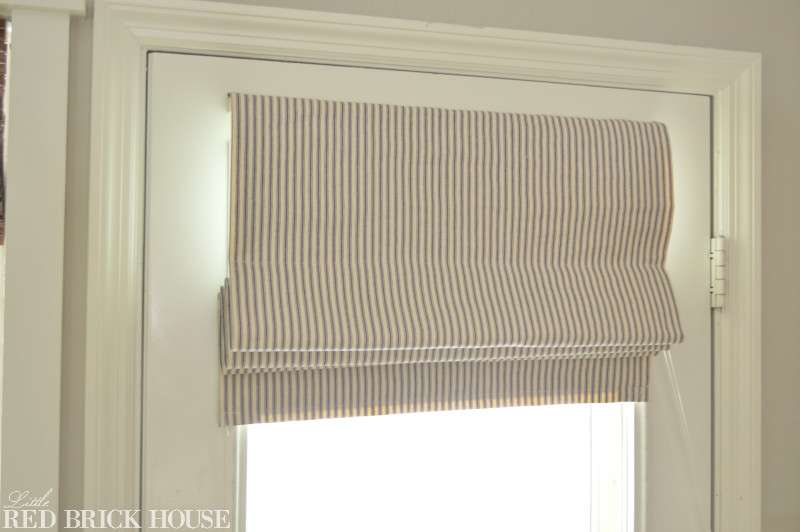
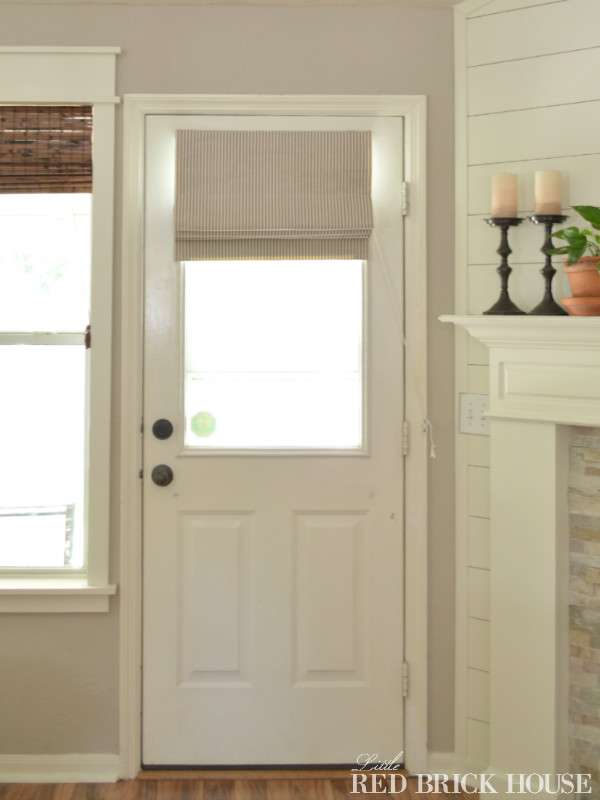
Whew! That was quite a process but it was so worth it. We’ve been living with the shade for about eight months and use it daily. I’m happy to report that it’s still going strong!
**Stick around because tomorrow I am teaming up with a few of my favorite bloggy friends to celebrate one of their blogiversaries with a fantastic GIVEAWAY! You won’t want to miss it!

That is so neat. When I get a house of my own I will surely be making these. It can be hard on some doors and windows when you do need privacy, especially at night. Great tutorial.
Thank you so much, Kathleen!
Glad you are back!! Thanks for the tutorial!!
-Shonee
Aww! Thank you Shonee! I hope it was helpful. 🙂
It’s SOOOO pretty! I’ve been dying to try making a “real” roman shade too! Will definitely be putting this tutorial to use!
Thanks so much, Kristi! It’s a lot of steps but totally worth it. It functions so well and looks nice.
Hi there! Great tutorial! Do you find it a pain to have to attach it to the hook when it’s up? I thought about going this route but that held me back. Thoughts?
Hey Jill! It’s no pain at all. I just wrap it around the little hook and it takes about 2 seconds. Just make sure you hang the cord from the same side that the door has the hinges. Even when you open the door it will still stay put. I hope that makes sense! Let me know if you have any more questions. 🙂