I love trying out new DIY projects that I find on Pinterest. Some of them turn out beautifully. And others? Well, not so much. I’m sure all of us DIYers have had a few Pinterest “fails” but at least we have the guts to try new things. That’s got to count for something, right?
A while ago I pinned this DIY wooden doormat and I’ve just recently gotten around to giving it a go. I did some things a bit different, but I must say I am quite pleased with how it turned out.

DIY Wooden Doormat Tools & Materials:
- 1x2x6 boards
- Pre-stain wood conditioner
- brush or rag to wipe on pre-stain
- wood stain of your choice (I used Rustoleum in the color Kona)
- drill and drill bit
- rope or thick string (I used hemp string)
- stencil
- paint
- polycrylic
How to Make a DIY Wooden Doormat:
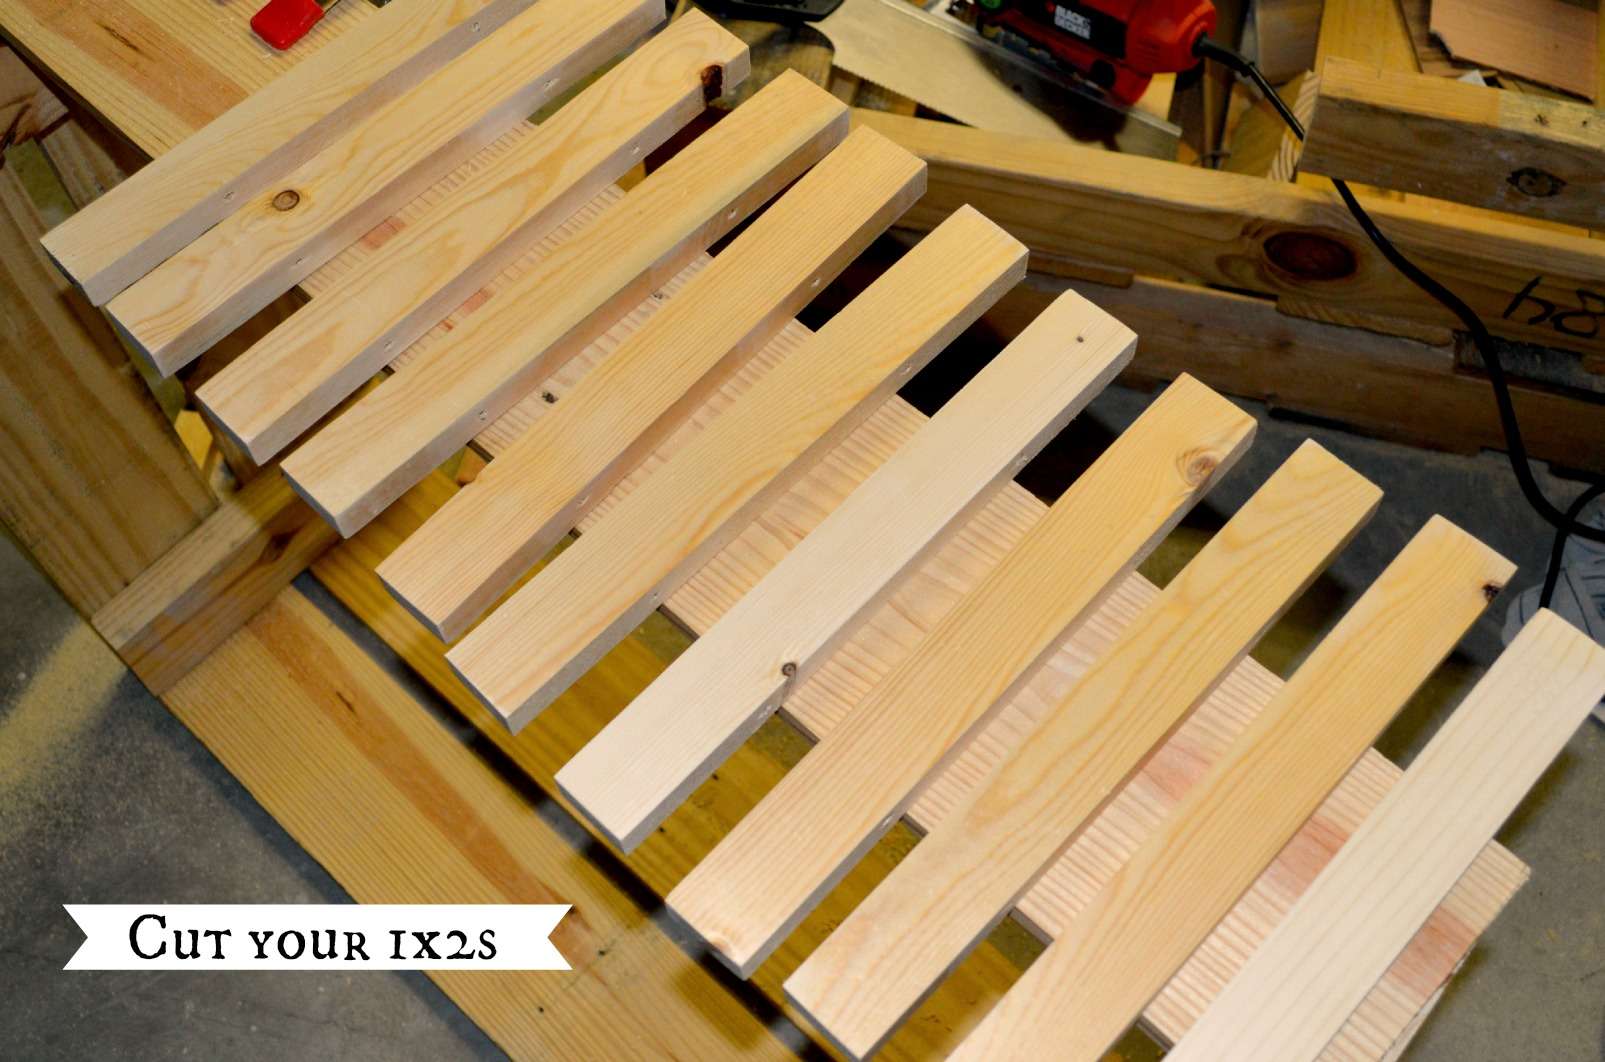
Step 1: Cut Your Boards to Size
First, I cut two 1x2x6s into slats. Mine were leftover from another project so I just cut them to a length I thought looked good and gave me the most bang for my leftover-project-wood buck. They measure about 18 inches. That gave me 11 slats.
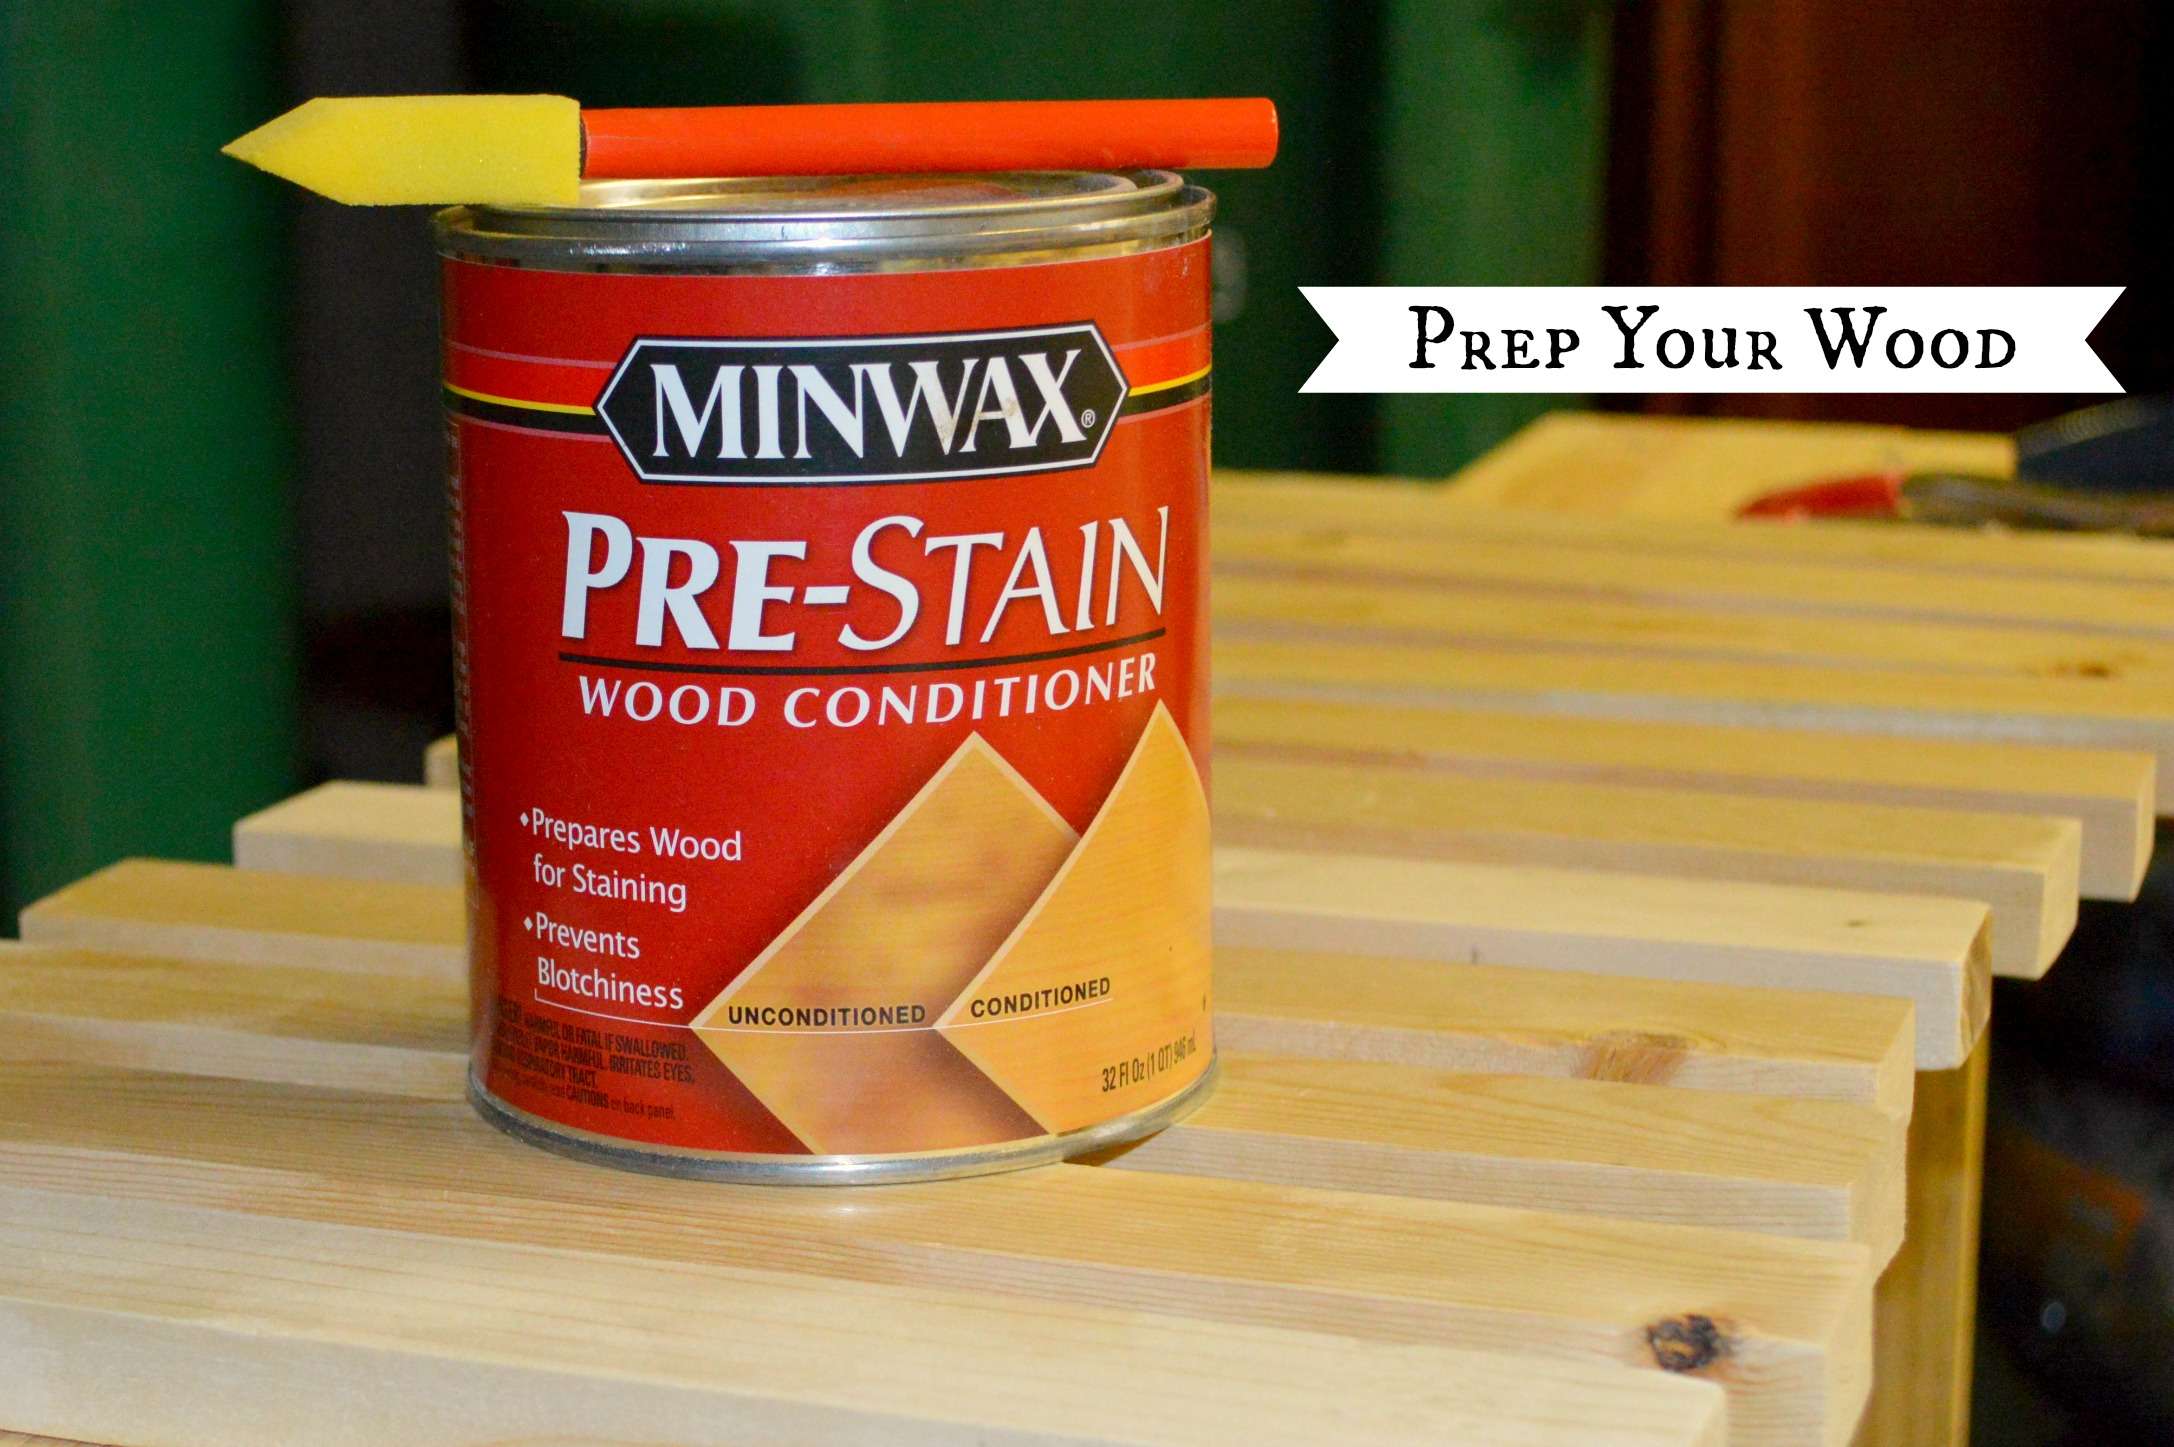
Step 2: Apply a Coat of Pre-Stain
Next, I used a pre-stain so the wood would take my stain evenly.
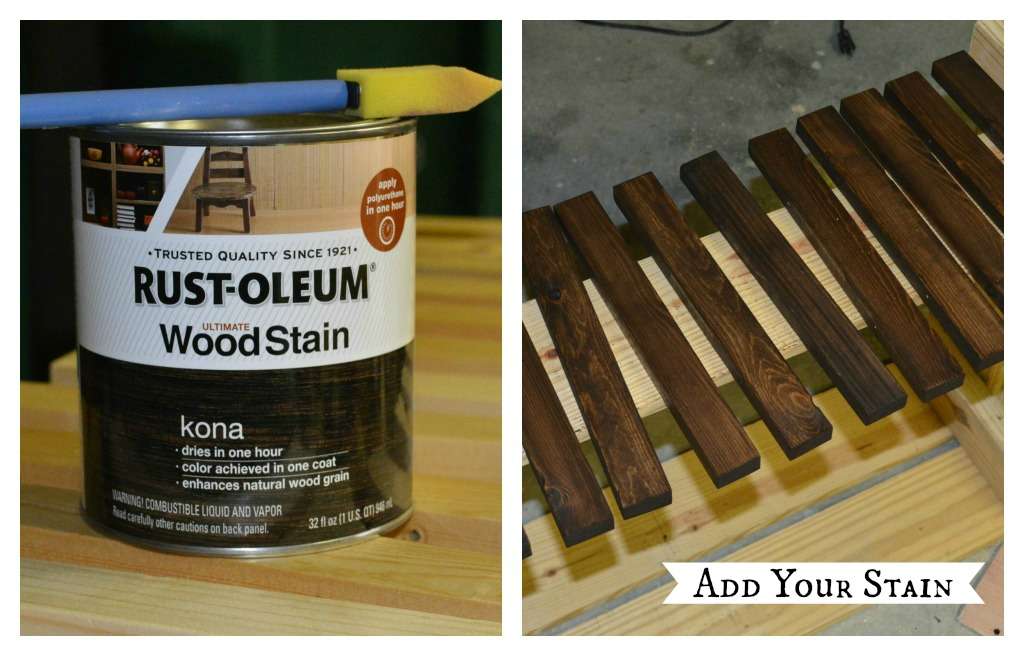
Step 3: Apply a Coat of Wood Stain
After the pre-stain dried (about 10 minutes) I wiped off any excess and then applied my favorite stain, Rustoleum in Kona. I only used one coat because it’s such a rich stain. I wiped off the excess stain and then let that that dry completely.
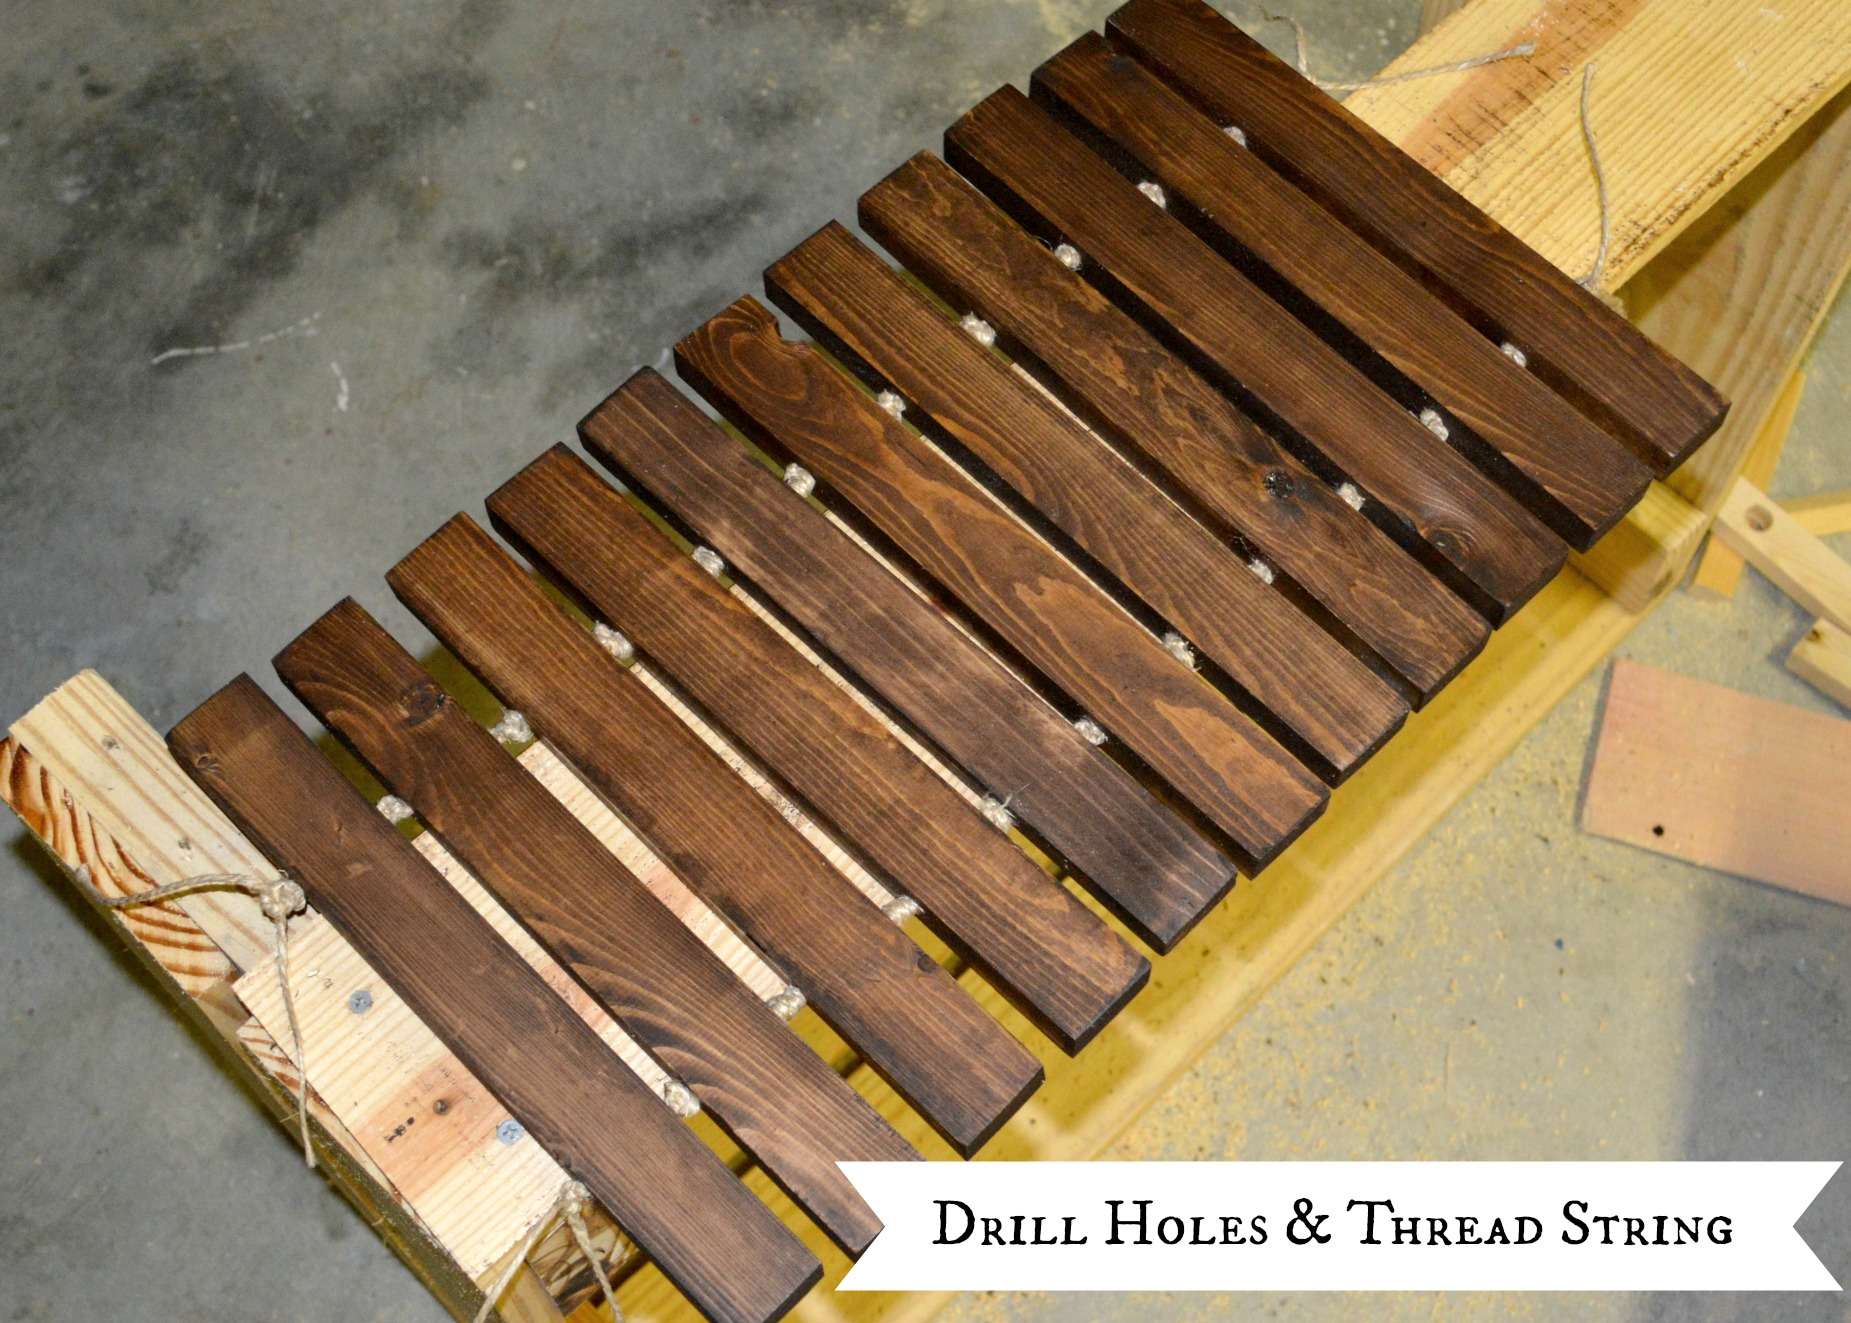
Step 4: Drill the Holes
Next, I drilled holes with a drill bit through each end of the slats so that the string could be threaded through. I doubled up on my hemp string and double knotted before and after every board. Be sure to pull your knots tight so that your mat doesn’t become loose and wobbly over time. You could use a thin rope for this part also. I just happened to have some leftover hemp string on hand.
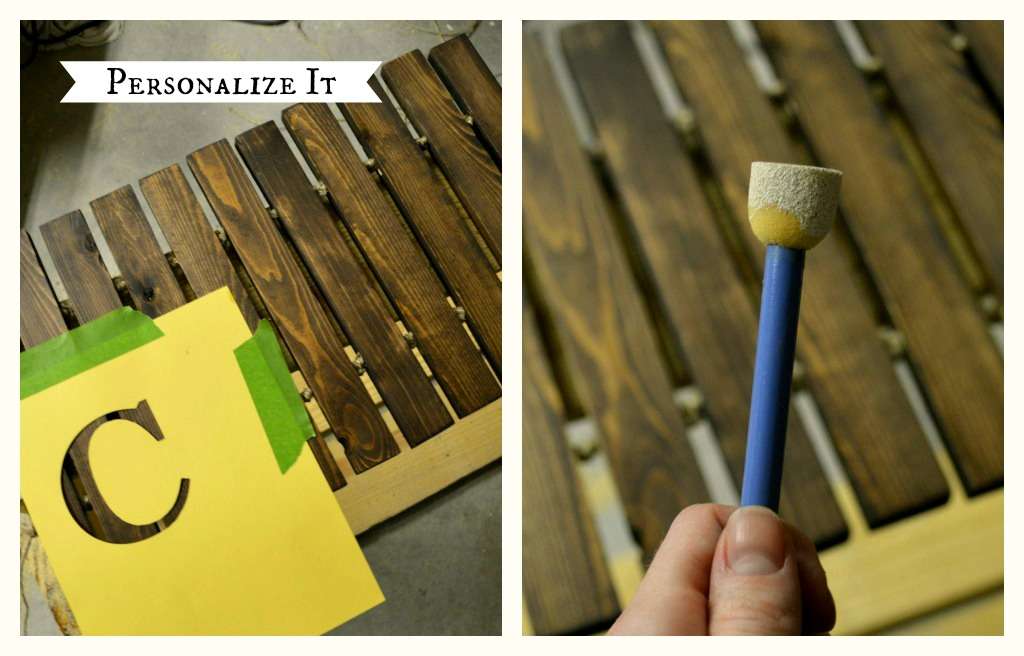
Step 5: Personalize It
I loved the idea of adding a personal touch with the lettering. So, I printed out a big ‘C’ (first letter of our last name) onto some card stock and then cut it out with an X-acto knife. Then, I taped it to the mat and carefully painted in the stencil with a sponge tipped brush.
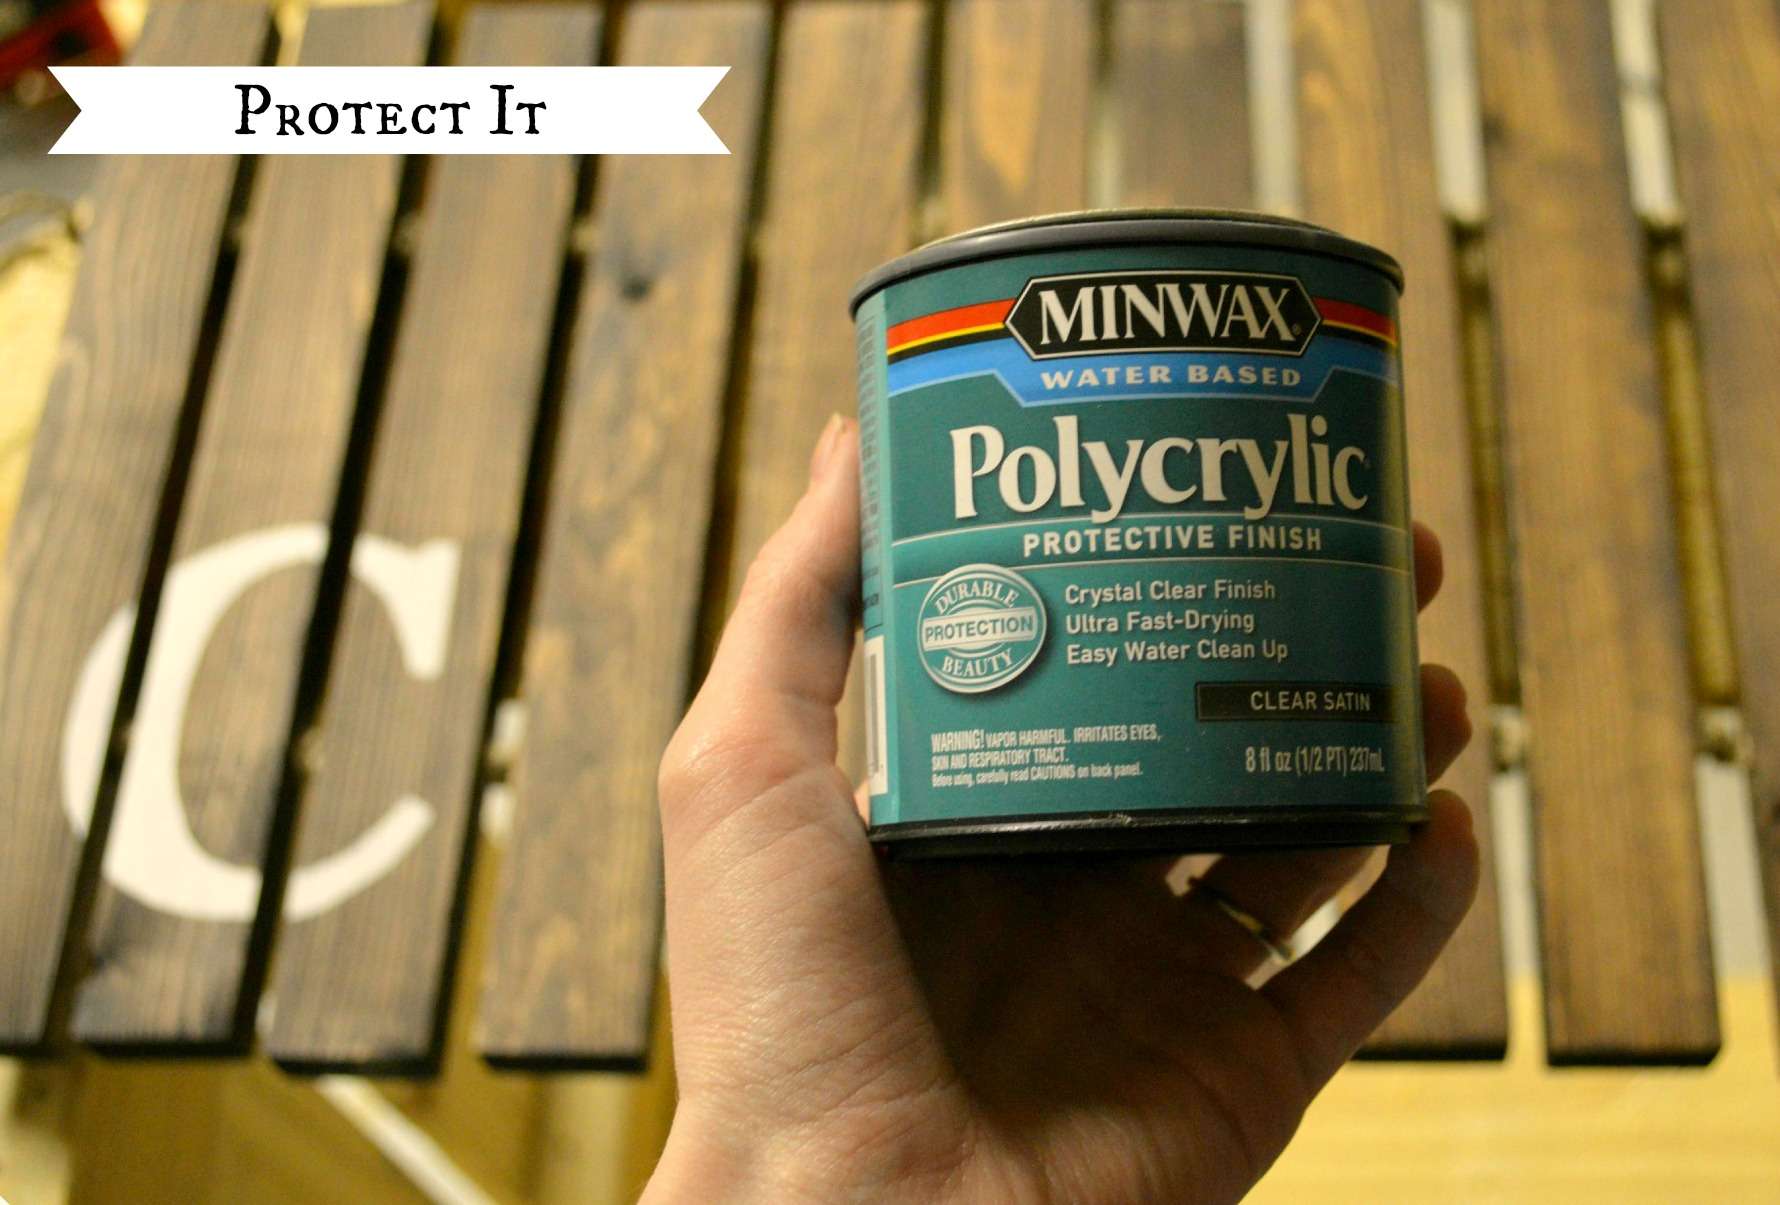
Step 6: Apply a Coat of Polycrylic
I knew that this mat would get a lot of traffic since, well, it’s a doormat. So, I went ahead and slapped on a few coats of polycrylic.
After everything dried I placed the mat in front of the front door and tried it out. Perfect!
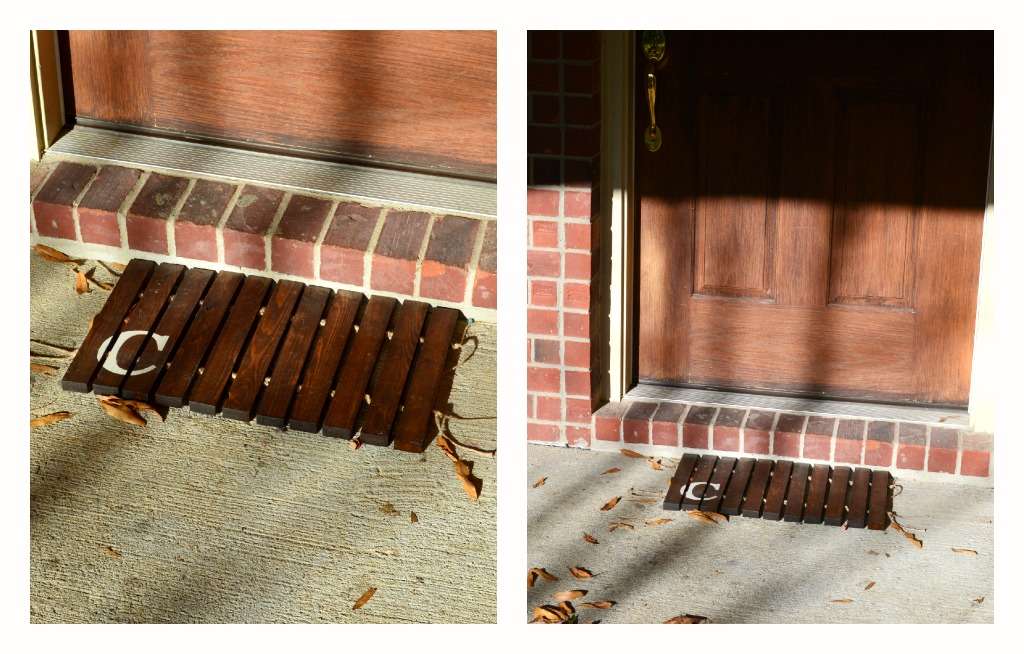
I can proudly put this project into the Pinterest “success” bag.
Have you been brave enough to try any of your Pinterest pins? If so, what did you make and how did it turn out?
xo,
sarah


LOVE this, Sarah!! I saw something similar on Pinterest too, but I gotta say, yours turned out way better!! I love that dark stain. 🙂
Aww, thank you, Amanda! You are the sweetest! 🙂
This is really cool. Great job!
Thanks, Adam! I appreciate it!
Brill! Such a clever and cute idea.
xx
Mila
Thanks, Mila!
Wow! This project is awesome! Love the idea of a wooden doormat! So cute!
Thanks for linking up with us a Your Designs This Time, Mondays 8:00am EST
Can’t wait to see what you share next Monday!
http://www.elizabethjoandesigns.com
Thank you!!
Do you think this would survive snow boots? Muddy shoes?
Hi there! Yes, I think if you put enough coats of poly on (3 to 4) it will hold up well. You could just give it a rinse with the hose if it gets too muddy. Ours has held up nicely from this abnormally wet winter. Hope that helps. And thanks for commenting!