Add more storage and prep space with this kitchen island extension tutorial!
Last week I shared how we extended our cabinets to the ceiling, and this week we’re moving forward with the kitchen island extension. This was one part of the makeover that I’ve been the most excited about since we started. I couldn’t wait to rip that huge over-the-stove microwave down so I could replace it with a range hood. It was so in-your-face, plus I really didn’t like having to reach for hot items coming out of the microwave. Thus, the idea of extending the kitchen island was born.
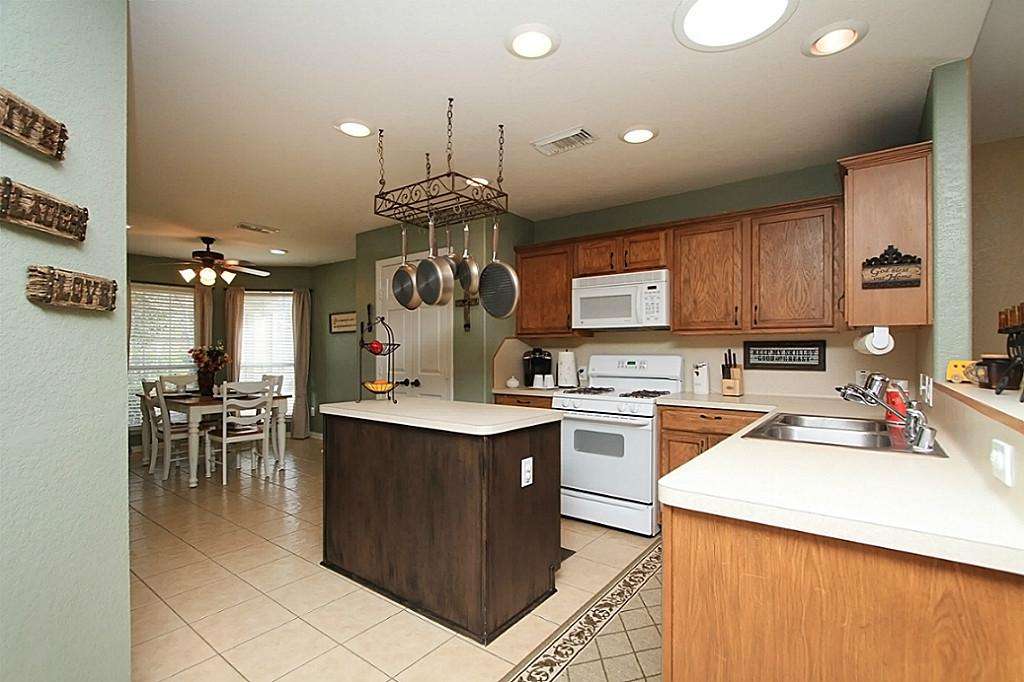
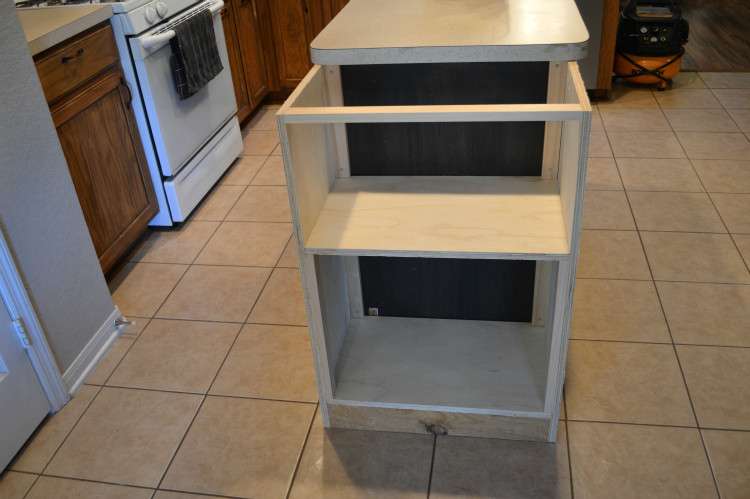
Here’s a photo of what the island looked like prior to building it out. It was small and lonely and in need of a new look.
How to DIY a Kitchen Island Extension:
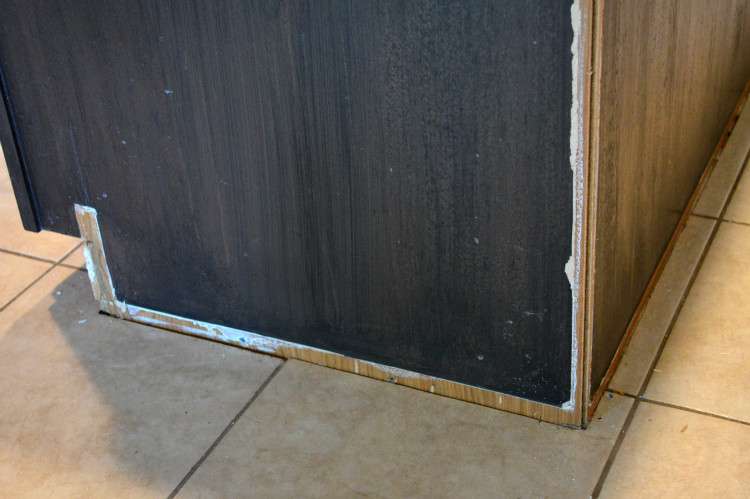
First, I ripped up the trim around the bottom and corners.
Then, cleats were made from 1×2 boards and screwed into each side of the island so the new side panels could be nailed to them. I countersunk the screws so they wouldn’t be visible after filling them and painting. We left a 3/4″ space between them where we would be installing a shelf. We also made sure to inset them 3/4″ so the side panels would be flush with the existing island once installed.
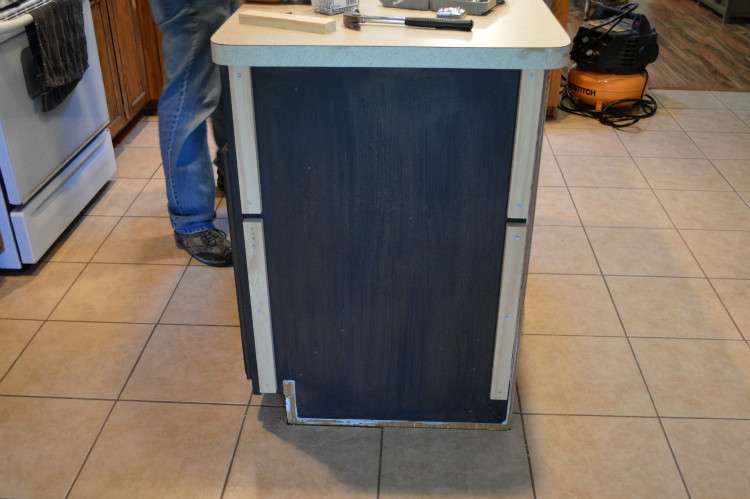
Next, we nailed our 3/4″ plywood panels into the cleats and nailed two 2×4 boards at the bottom. They act as a brace for the side panels and a base for the bottom shelf to sit on.
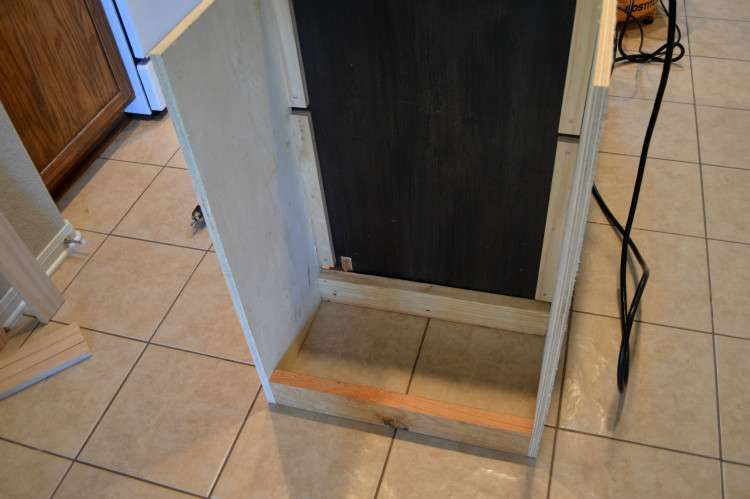
The next step was to nail two more cleats to the front of the side panels for the top shelf to rest on. Then we set the top shelf in between the cleats and pocket holed it in from the underside. The bottom shelf was placed on top of the 2x4s and nailed in as well. A 1×4 board was nailed to the side panels at the top to act as a brace for the future countertop.
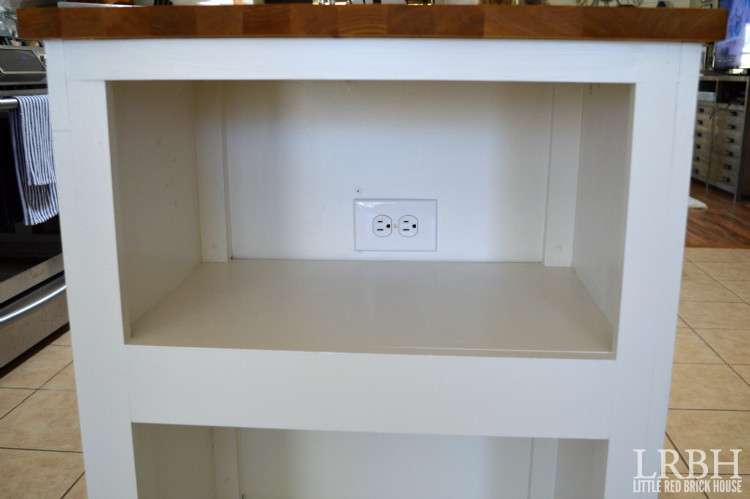
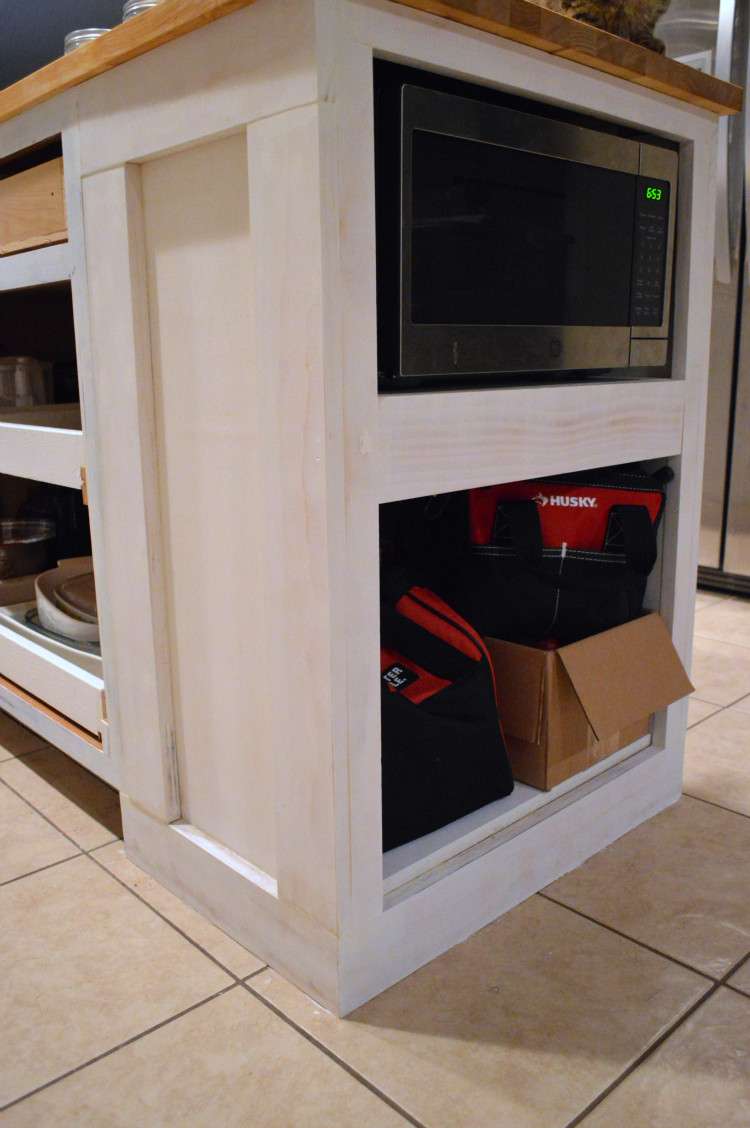
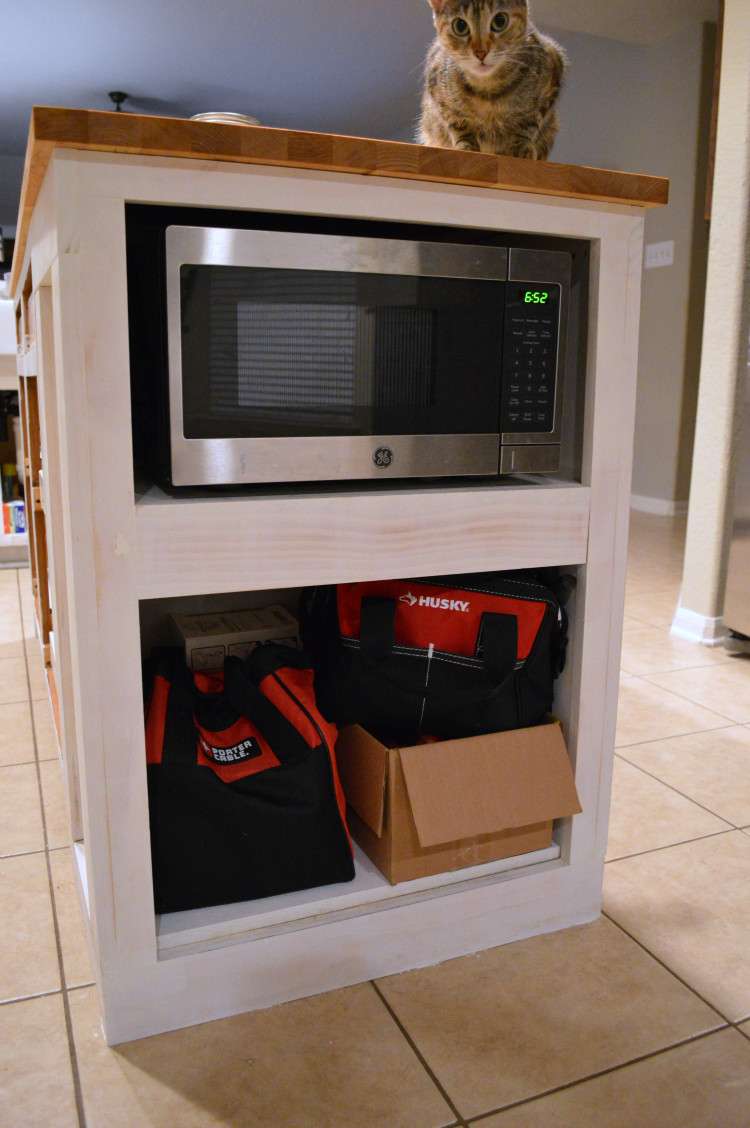
The front of the shelves were trimmed out with 1×2 boards on the sides and a 1×4 on the top shelf. The base trim was made from a 1×4 board as well. We had an electrical outlet put in on the top shelf to power the microwave.
Of course, there were plenty of helping hands available.
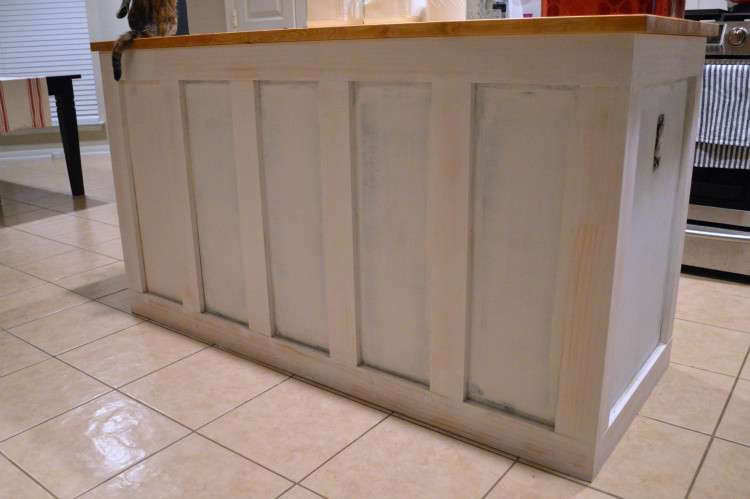
We prettied the island up with a board and batten treatment made from 1×4 boards. That helped to cover the seams where the extension meets the existing island. We primed the island and then filled and caulked the nail/screw holes and seams.
How are you liking these sneak peeks of the island countertop and then new range?
I still have to add the small base trim at the bottom of the board and batten and finish painting the whole thing, but for now she is operational. We even got the microwave wired in and running. Making hot chocolate has never been more fun!
Next up is the island countertop installation.
xo,
sarah